Summary
Let’s walk through the process of building a JAMstack application that displays news from the Alpaca News API.
Prerequisites
This tutorial contains hands-on steps to build a JAMstack application. To follow along, you should have:
- An Alpaca account to access Alpaca’s services.
- Node.js installed on your computer. Node.js version 14 was used in preparing this tutorial.
- The Netlify CLI installed on your computer to access Netlify’s services.
- An understanding of React.js to build the frontend application.
Introduction
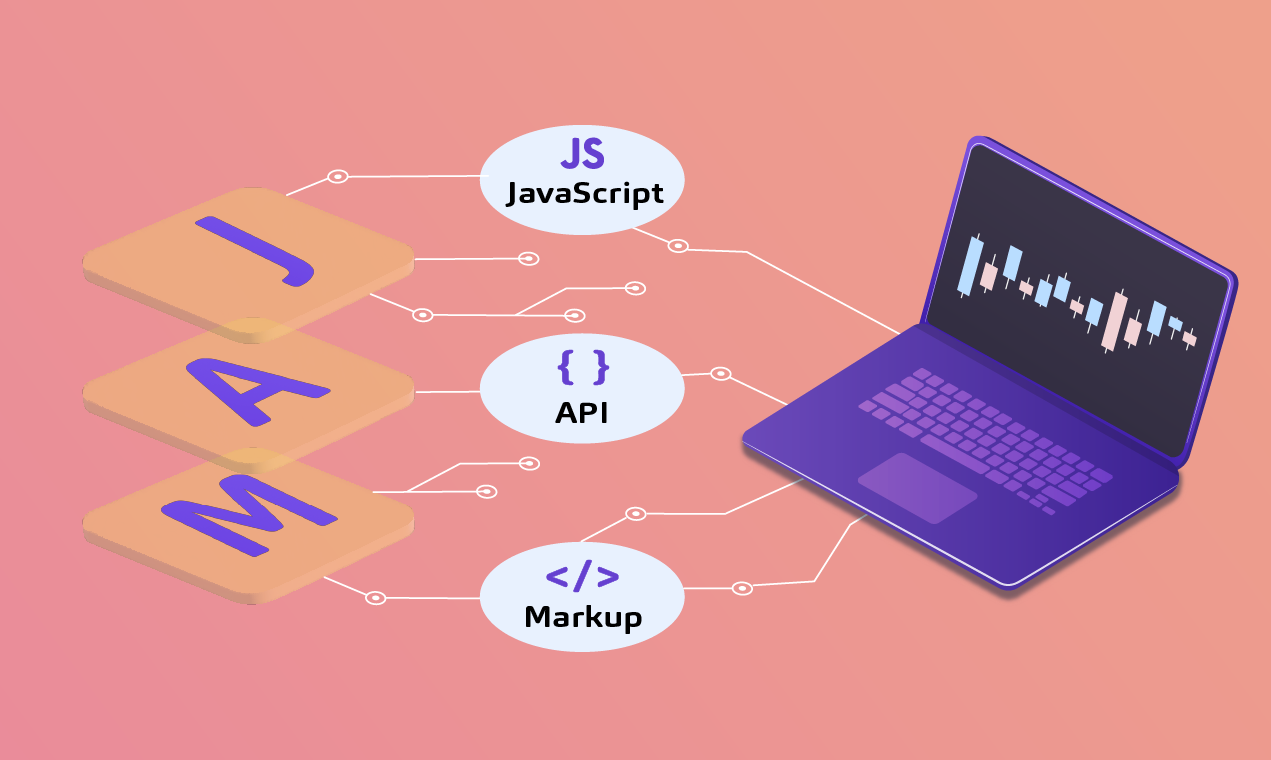
- JavaScript, API and Markups are the three components that make up the JAMstack architecture. Over the past few years, according to Netlify’s State of the Jamstack survey the JAMstack architecture has seen an increase in adoption amongst developers.
To experience the benefits of the JAMstack architecture, you will build a JAMstack application displaying stock and crypto news from the Alpaca News API. The application will use Netlify and be split into two distinct parts:
- The Netlify functions which will be used to build the server-side layer that interacts with the Alpaca News API to retrieve stocks and crypto news.
- The Gatsby application which is a static site generator (SSG) that you will use to generate markup pages for the application.
Understanding the Alpaca News API
Before you proceed further, please note that the Alpaca News API is in its beta phase. Changes to the API such as changes in endpoint and price may come later.
The Alpaca News API offers developers access to stock and crypto news. For real-time news, developers must establish a websocket connection to the News API to retrieve data in streams. On the other hand, the historical endpoint serves 6 years’ worth of news over a standard HTTP request.
Preparing The JAMstack Application Resources
In the previous section, you learned about the Alpaca News API. Now, you will create the Netlify functions and the Gatsby application to display the retrieved stock and crypto news.
Creating a Gatsby Project
Gatsby is a fast and flexible framework within the React ecosystem. JAMstack is at the heart of Gatsby, as it provides native features to generate lightweight markups of the application.
To get started, launch your computer’s terminal or command line tool. You will execute a command to create the Gatsby application.
Execute the npx command below to bootstrap a Gatsby application. The command will launch the Gatsby interactive installer, which will walk you through the process of bootstrapping the application.
npx Gatsby new For this tutorial, we will name the Gatsby application “alpaca-jamstack-news”, but you can use your preferred name for the application.

At this point, your Gatsby application has been bootstrapped into a new directory.
Next, execute the command below to change your current directory into the directory generated by the Gatsby installer.
cd alpaca-jamstack-news Before running the Gatsby application server, you will install three dependencies for the application using the next step.
Installing the Needed Dependencies
To interact with Netlify’s services from your computer’s terminal, you will need the Netlify CLI installed on your computer.
Execute the npm command below to globally install the Netlify CLI package on your computer.
npm install -g netlify-cliExecute the command below to initialize Netlify within your Gatsby project.
netlify initNext, execute the command below to install the dotenv and @alpacahq/alpaca-trade-api packages. You will use dotenv to access the stored Alpaca credentials, then use the @alpacahq/alpaca-trade-api package to establish a connection with Alpaca.
yarn add dotenv @alpacahq/alpaca-trade-apiWith dotenv installed, you can proceed to store your Alpaca credentials on Netlify. Dotenv will be used to retrieve the Alpaca credentials.
Storing Alpaca Credentials
Similar to other Alpaca APIs, access to the News API also requires your Alpaca Access Key ID and Secret Key credentials. These credentials should not be hard coded into an application, as that will risk the keys being viewed by others from the code repository.
Netlify provides the Build Environment Variables feature to securely store sensitive credentials away from the application.
Execute the two set commands below to store your Alpaca credentials as build environment variables within your project on Netlify.
Note: Replace the ALPACA_ACCESS_KEY and YOUR_ALPACA_SECRET_KEY placeholders with their corresponding values.
netlify env:set ALPACA_ACCESS_KEY <YOUR_ALPACA_ACCESS_KEY>
netlify env:set ALPACA_SECRET_KEY <YOUR_ALPACA_SECRET_KEY>
Creating The Netlify Functions
Netlify functions are HTTP event-driven, serverless functions deployed and managed on Netlify. Each file within the configured directory acts as a serverless function and can be invoked through an HTTP request.
Launch the Gatsby project in your preferred code editor as you will now proceed to create a Netlify function.
Execute the command below to create two nested directories ( ./netlify/functions ) to store the JavaScript file for the Netlify function.
mkdir -p netlify/function Create a data.js file within the ./netlify/function directory and add the content of the code block below into the file.
The client class of the @alpacahq/alpaca-trade-api will be created when the Netlify function below is executed. The Alpaca client will establish a connection with the Alpaca News API. The Alpaca credentials stored in environment variables will be retrieved and used in authenticating your connection to the News API.
The getNews method will return an array containing 10 objects by default from the News API. The 10 objects will further be returned in JSON format as the request’s response.
const alpaca = require("@alpacahq/alpaca-trade-api").config()

const alpacaClient = new alpaca({
   keyId: process.env.ALPACA_ACCESS_KEY,
   secretKey: process.env.ALPACA_SECRET_KEY,
   paper: true,
});

exports.handler = async (req, context, callback) => {
   try {
       const data = await alpacaClient.getNews({})

       return {
           statusCode: 200,
           body: JSON.stringify({data}),
       }
   } catch (error) {
       return {
           statusCode: 500,
           body: JSON.stringify({
               message: "An internal server error occurred",
               error,
           }),
       };
   }
};
Testing the Netlify Function
The Netlify CLI provides developers with a feature to test Netlify functions locally before they are deployed to production on Netlify.
Execute the command below to start the Netlify dev server, which will start both the Netlify function and the Gatsby application.
netlify dev Execute the cURL command below to test the Netlify function you added to the ./netlify/functions directory.
curl http://localhost:8888/.netlify/functions/data
The cURL command will make a GET HTTP request to the running Netlify dev server and return the retrieved data in JSON format as shown below.

Building the Application Interface
With the Netlify function API set up, we are left with building the interface of the Gatsby application to display the news from Alpaca.
Using your code editor, open the ./src/pages/index.js file within the Gatsby project and add the content of the code block below into the file.
The code block below contains two React components:
- A parent Index component that renders everything seen on the default page. The component uses the useEffect hook to make an HTTP request to the data Netlify function immediately the component is loaded.
The request’s response is stored in the component’s local state and is used to populate an HTML list of NewsCard components.
- A child NewsCard component that displays each individual news fetched from the data Netlify function. The NewsCard component receives data from the parent Index component via props.
Each news displayed in the NewsCard component contains an image, title, ticker symbol and a link to read more about the news.
import React, {useEffect, useState} from 'react'
import "./app.css"

const NewsCard = ({newsData}) => {
   const {Headline, Images, CreatedAt, Symbols, Summary, Url} = newsData

   return (
       <div className={'news-card'}>
           <img className={'cover-img'} src={Images[0]?.url} alt={Headline}/>
           <div>
               <h2> {Headline} </h2>
               <p> Posted on: {new Date(CreatedAt).toLocaleDateString()}  </p>
               <p> Symbols: {Symbols[0]} </p>
               <p> {Summary} </p>
               <a href={Url}> Learn More </a>
           </div>
       </div>
   )
}

const Index = () => {
   const [newsData, setNewsData] = useState([])

   useEffect(async () => {
       try {
           const request = await fetch('/.netlify/functions/data')
           const {data} = await request.json()
           setNewsData(data)
       } catch (e) {
           console.log(e)
       }
   }, [])

   return (
       <div className={'container'}>
           <h1> Stocks and Crypto News </h1>
           {
               newsData.length < 1 ?
                   <div>
                       <p> Loading Stocks and Crypto news... </p>
                   </div>
                   :
                   <ul>
                       {
                           newsData.map((data) => (
                               <li key={data.ID}>
                                   <NewsCard newsData={data}/>
                               </li>
                           ))
                       }
                   </ul>
           }
       </div>
   )
}
export default Index
Open your web browser and navigate to the running Gatsby application at http://localhost:8888.
You will see the news data fetched from Alpaca News API.

Congratulations!
You have successfully built a JAMstack application that retrieves data from Alpaca’s New API. You might consider further deploying the Gatsby application to Netlify using the deploy command. To learn about the Alpaca News API, read our REST API docs.
Please note that this article is for informational purposes only. The example above is for illustrative purposes only. Actual crypto prices may vary depending on the market price at that particular time. Alpaca Crypto LLC does not recommend any specific cryptocurrencies.
Cryptocurrency is highly speculative in nature, involves a high degree of risks, such as volatile market price swings, market manipulation, flash crashes, and cybersecurity risks. Cryptocurrency is not regulated or is lightly regulated in most countries. Cryptocurrency trading can lead to large, immediate and permanent loss of financial value. You should have appropriate knowledge and experience before engaging in cryptocurrency trading. For additional information please click here.
Cryptocurrency services are made available by Alpaca Crypto LLC ("Alpaca Crypto"), a FinCEN registered money services business (NMLS # 2160858), and a wholly-owned subsidiary of AlpacaDB, Inc. Alpaca Crypto is not a member of SIPC or FINRA. Cryptocurrencies are not stocks and your cryptocurrency investments are not protected by either FDIC or SIPC. Please see the Disclosure Library for more information.
This is not an offer, solicitation of an offer, or advice to buy or sell cryptocurrencies, or open a cryptocurrency account in any jurisdiction where Alpaca Crypto is not registered or licensed, as applicable.