Please note that this article is for educational and informational purposes only. All screenshots are for illustrative purposes only. Alpaca does not recommend any specific securities or investment strategies.
Alpaca’s OAuth service allows you to retrieve market data, account data and place trades on behalf of someone else. This opens up a world of possible services you can create such as market data visualization apps, automated investing apps, portfolio analytics apps, and so much more! OAuth allows you to create lightweight applications that don’t require developing a backend server. In this article, we create an application that lets us display market data from Alpaca’s Market Data API using react-financial-chart’s elegant candlestick charts. By doing so, we lay the foundations of using OAuth to create services and also provide reusable code that you can use to build your own app!
You can view and clone the full project as described in this article from this GitHub repository.
Getting Started With OAuth and NodeJS
Setting up OAuth
To get started with building our OAuth app, we’ll need to get some OAuth client keys that will allow us to act on behalf of our users. You can retrieve a set of keys by registering your Alpaca app on the dashboard OAuth section.

Go to `Create New App` and fill in details about your app. We’re going to host our web server locally on port 3000. So for our application website, we can put http://localhost:3000. We’ll also need to provide some callback endpoints that Alpaca will use to provide authentication keys. Let’s set our callback endpoint to http://localhost:3000/dashboard, which we haven’t defined yet. The Alpaca OAuth client will send our OAuth keys as query parameters to this endpoint. The OAuth keys aren’t enough to make API calls to Alpaca as we’ll soon see. We will have to use our OAuth keys to retrieve an authorization token that lets us act on our user’s behalf.

Once you hit submit, you’ll receive your client keys, as shown below. Make sure to save your Client ID and Client Secret keys somewhere you can refer to later.

Setting Up a React project
Let’s create a new directory for our trading app. We’ll call it my-oauth-trading-app. Inside the directory that you want to initialize your project in, run the command npx create-react-app my-oauth-trading-app. This will initialize a new React project. Inside we should see a package.json file, which will handle dependencies and script configurations, and also a src directory, where we will hold our files. Let’s also create an .env file within our directory, which stores environment variables.
Our directory should look like this.
>../my-trading-app
    |____ node_modules/*
    |____ public/*
    |____ src/
          |___ App.js
          |___ index.js
          |___ App.test.js
          |___ index.css
          |___ App.css
          |___ reportWebVitals.js
          |___ setupTests.js
          |___ alpaca_logo.png
    |____ index.js
    |____ package.json
    |____ .env
    |
     ...
Inside the .env file, we can add in any keys or configurations so that we can access them as environment variables.
// .env file
REACT_APP_CLIENT_ID=d21974fa83719e6116b434d1ad97d469
REACT_APP_CLIENT_SECRET=ab8d727141b59e4af4e71dc5bb769d8624595e54
REACT_APP_REDIRECT_URI=http://localhost:3000/dashboard
PORT=3000
Building A Web App using OAuth
We’ll be using react-router to create a multi-page website. React router allows us to load different views onto our website based on the URL. We’ll be creating 2 pages: A home page where our users can sign in with Alpaca, and also a dashboard page where they can access our services.
We will set up our routes within the App.js file. “/” will point to our Home page and “/dashboard” will point to our Dashboard page.
import React from 'react';
import {BrowserRouter as Router, Route, Routes } from 'react-router-dom'
import Home from './Home';
import Dashboard from './Dashboard/Dashboard';

function App() {
   return (
   <Router>
       <Routes>
         <Route exact path="/" element={<Home/>}/>
         <Route exact path="/dashboard" element={<Dashboard/>}/>
       </Routes>
   </Router>
   )
}

export default App
Creating The Home Page and OAuth Authentication
We want to create a homepage that is easily interchangeable between different apps or services. This way we can reuse our homepage code for each app or service we may create. Let’s create a homepage that displays our app’s title and also provides a way for our users to authenticate and access our service.
Before we get started, let’s create some files we will need to hold our React component code and styling. In our src/ directory, let’s create a Home.js file to hold our Home page components and a Home.scss file.
Within Home.js, we’ll create some div elements to hold and style our components. Below is the code for creating the Home component. The most important part is the button which will redirect users to Alpaca for authentication. Once they are authenticated, Alpaca will redirect them back to our dashboard page with an oauth code as a query parameter. Take a note of the endpoint, we redirect them to. You can learn more about this endpoint in the documentation.
import './Home.scss';
import alpaca_logo from './alpaca_logo.png'
import React from 'react';
import dotenv from 'dotenv';

// we need to call dotenv.config() before attempting to access env variables
dotenv.config();

class Home extends React.Component {

// This method will fire when our button is pressed
handleSubmit = async (event) => {

 // we will redirect our users to the following URL so that they can authenticate with Alpaca.
 const alpaca_oauth = `https://app.alpaca.markets/oauth/authorize` +
              `?response_type=code&client_id=${process.env.REACT_APP_CLIENT_ID}&redirect_uri=${process.env.REACT_APP_REDIRECT_URI}&scope=account:write%20trading%20data`;
 // Redirect
 document.location.href = alpaca_oauth;
 }

 render() {
   return (
     <div className="home-container">
       <div className="content">
             <h1 className="content-title"> My OAuth Trading App</h1>
              <div className="content-container">
                   <button onClick={this.handleSubmit}>
                         <input className="button-width" type="submit" value="Sign in with Alpaca" />
                   </button>
             </div>
             <div className="content-footer">
                  <label className="content-label"> Powered by </label>
                  <img src={alpaca_logo} alt='' />
             </div>
       </div>
    </div>
   );
 }
}

export default Home;
Below we can see what our page looks like after adding styling. To view the `.scss` files used for styling view the github repository.

Building a Dashboard
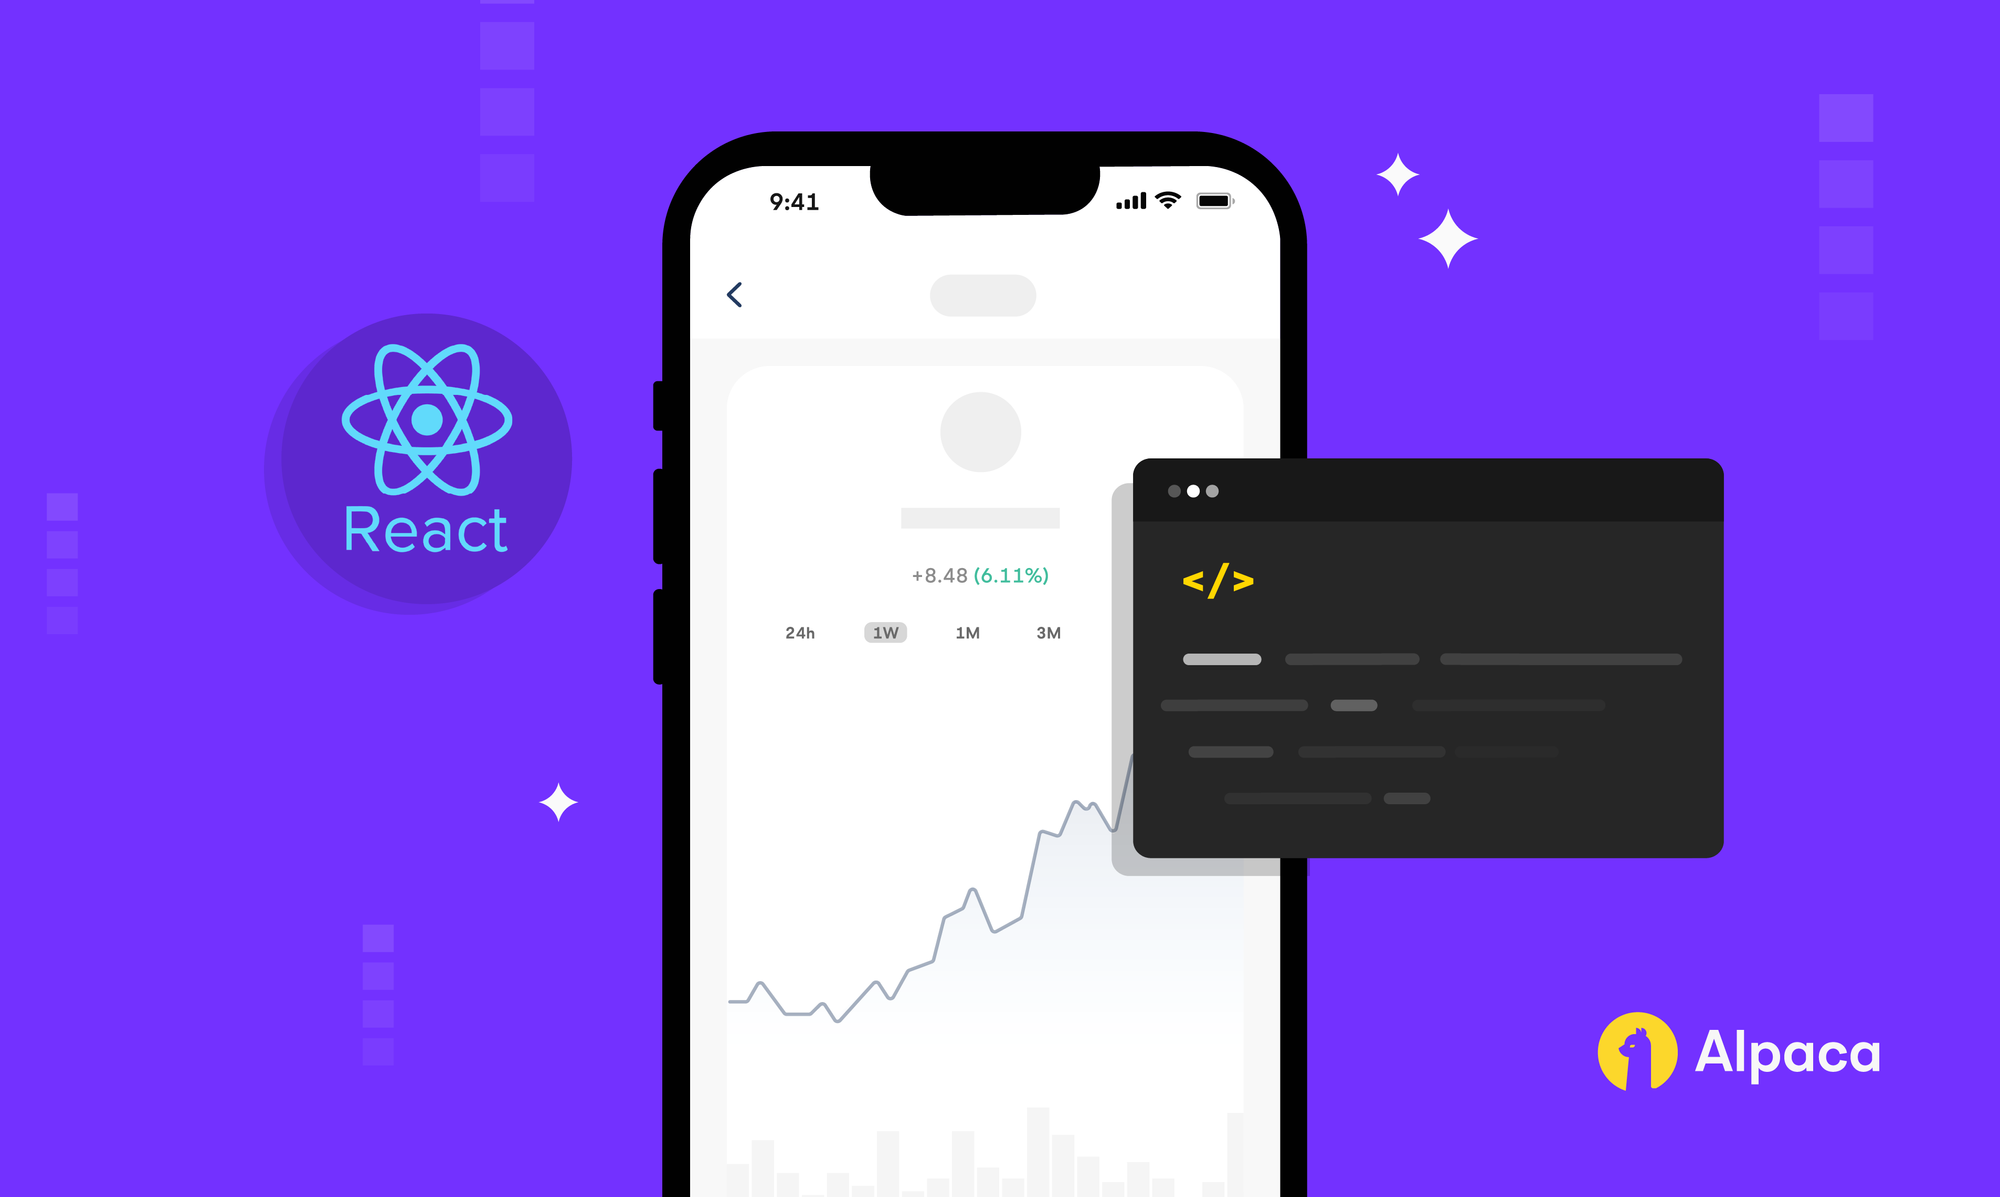
The dashboard will hold what our users come to our app for. Here we can provide our service. For our app, we’re going to create a service that allows users to look up historical price data for a stock, and view it in a candlestick chart.
We’re going to leave some of the code for the Dashboard out of this article to avoid cluttering the page with a lot of boilerplate code. The code snippets we leave in will be useful for building your own app. If you want to view the full codebase for how the Dashboard was built you can view the github repository for this project. This is what the Dashboard looks like when rendered.

The candlestick chart is created using `react-financial-charts` and populated using Alpaca market data. You can use the same chart component in your own apps.
We’ll need to create a few files to hold our components. Within our /src directory, let’s create a new directory to house all our files needed for the Dashboard page. See below for the full directory structure. Notice we also create a folder for our Chart component within the Dashboard directory.
>../src/
    |___ Dashboard/
    |     |___ Chart/
    |     |    |___ Chart.js
    |     |    |___ Chart.scss
    |     |    |___ initial-data.json
    |     |
    |     |___ Dashboard.js
    |     |___ Dashboard.scss
    |
    |___ App.js
    |___ index.js
    |___ App.test.js
    |___ index.css
a
Within our Dashboard.js, there are two important functions, we want to note. handleSubmit which fires when the submit button is pressed, and getBars which is called by handleSubmit.
The first time that handleSubmit is called, the oauth code provided by Alpaca after the redirect is grabbed and used to retrieve an authorization token, which we can use to access Alpaca’s APIs on behalf of the user. The auth token is saved in localStorage so that we don’t have to make repeated requests to Alpaca for our token.
getBars uses the auth token to retrieve market data for the symbol input by the user and saved in the state. When we update the state with the retrieved market data, this will prompt the Chart to update and re-render its view with the new data.
class Dashboard extends React.Component {
   ...

   getBars = async () =>{
     const query_symbol = this.state.symbol
     const auth_token = window.localStorage.getItem("auth-token")

     const start = new Date();
     start.setFullYear(start.getFullYear() - 5);
     const end = new Date();
     end.setDate(end.getDate() - 1)


     const response = await axios.get(`https://data.alpaca.markets/v2/stocks/${query_symbol}/bars`, {
       'headers': {
         'Authorization': `Bearer ${auth_token}`
       },
       'params':{
           'start': start.toISOString(),
           'end': end.toISOString(),
           'timeframe': '1Day',
           'adjustment': 'all'
       }
     })

     if (response.data.bars === null) {
       return
     }

     const parsedData = Utils.parseResponse(response)

     this.setState({data: parsedData})
 }


   handleSubmit = async (e) => {
       e.preventDefault();

       if (window.localStorage.getItem('auth-token') === null){
         var oauth_code = new URLSearchParams(window.location.search).get('code');

         const auth_token = await Utils.getAuthToken(oauth_code)
         window.localStorage.setItem('auth-token', auth_token)
       }

       this.getBars()
   }


   render() {

     return (    ...
     			<CandleStickChart data={this.state.data}  />
                 ...
            )
   }
 }
  export default Dashboard
Creating Your Own App
We’ve seen how we can build components which interact with Alpaca’s API with OAuth keys.
We’ve also provided you with some reusable components that you can use in your own app. With some minor tweaks, you can start creating your own OAuth service.
Reusing The Home Page Component
The Home page component, written in Home.js, can be used pretty much out of the box. Feel free to replace it with your own logo and app name,
Reusing The Dashboard Component
The dashboard component is more configurable to your needs. In this example, our service lets you request market data and displays that data in a chart. You may want to take things further by maybe allowing users to trade or add indicators to the chart. The world is your oyster.
You can add services by creating methods which interact with Alpaca’s API, just like `getBars` does in this example. The data returned by these methods can in turn be stored in the component state or passed into other components for analysis and rendering.
Reusing The Chart Component
We created the CandleStickChart component mostly as a demonstration. But it is reusable straight out of the box as well. The CandleStickChart instance requires market data to be provided in the format of
data = [
   {
       "date": "2016-12-07T05:00:00Z",
       "open": 203.062565,
       "low": 202.943392,
       "high": 205.959399,
       "close": 205.849393,
       "volume": 110738050
   },
   {
       "date": "2016-12-08T05:00:00Z",
       "open": 205.876895,
       "low": 205.583544,
       "high": 206.903621,
       "close": 206.381091,
       "volume": 99714387
   },
   ...
]
If you want to dynamically render the chart as the data changes, pass it in as a prop.
// this will dynamically update the chart as this.state.data changes
<CandleStickChart data={this.state.data}  />
Conclusion
We’ve seen how you can use OAuth to create a lightweight trading application built with React. With OAuth, you don’t need to make a backend; you can worry about creating the service as your user will experience, instead of maintaining REST endpoints. More importantly, we’ve provided some reusable components so that you can build your own apps! The possibilities are endless for the types of services you can create using OAuth as a base.
Alpaca does not prepare, edit, or endorse Third Party Content. Alpaca does not guarantee the accuracy, timeliness, completeness or usefulness of Third Party Content, and is not responsible or liable for any content, advertising, products, or other materials on or available from third party sites.
Brokerage services are provided by Alpaca Securities LLC ("Alpaca"), member FINRA/SIPC, a wholly-owned subsidiary of AlpacaDB, Inc. Technology and services are offered by AlpacaDB, Inc.
This is not an offer, solicitation of an offer, or advice to buy or sell securities, or open a brokerage account in any jurisdiction where Alpaca is not registered (Alpaca is registered only in the United States).