All of the code for the following tutorial can be found in this repo.
 grahamguthrie99
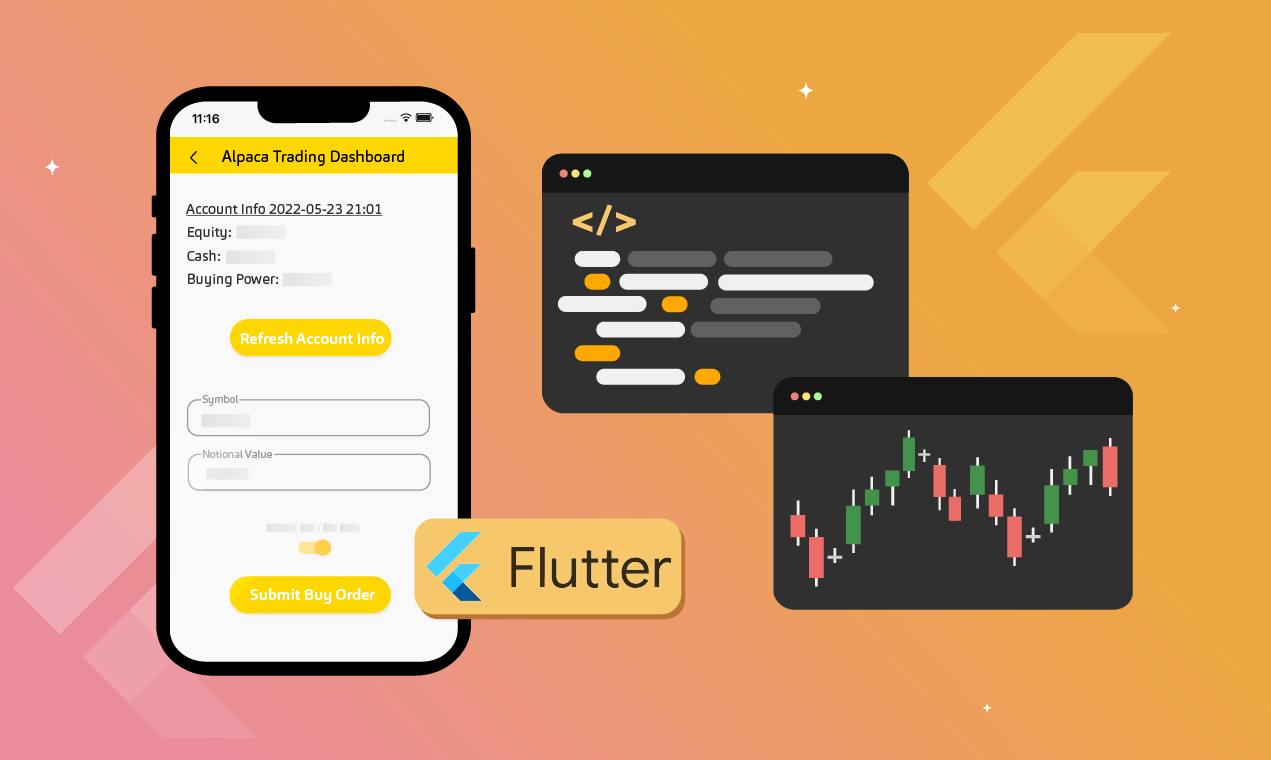
I have been a long time subscriber and user of the Alpaca Trade API. Alpaca is a developer focused, commission free API for stock trading. You can sign up for the Alpaca newsletter HERE.

Their API allows a developer to trade, build applications, and connect with various third party services.
Recently Alpaca released OAuth integration. Using OAuth helps protect the privacy and security of users. As a developer who is building an application using OAuth, you can safely and securely get the all the benefits of the Alpaca API for the users of your application. OAuth integration is an extremely powerful and useful tool. Theoretically, if you put in enough time and effort, you could build your own version of Robinhood.
What Are We Building?
There are several steps that go into implementing OAuth correctly. In this article, I will be demonstrating how to use Alpaca’s OAuth Integration with React and Firebase.
React is a popular front-end framework for building user interfaces and Firebase is a back end as a service platform that allows for apps to be scaled quickly and safely. These two tools create an efficient way to rapidly prototype your next application idea, without having to worry about almost any overhead. If you are not yet entertained, everything that follows is completely free. The only thing you will spend is your valuable time.

In Part 1, I will describe the OAuth flow, I will take you through the process of configuring Firebase with React, and I will show you how to host your application using Firebase.
In Part 2, I will walk you through implementing the 5 steps outlined in the Alpaca OAuth Guide. We will be creating a button that will allow users to connect their Alpaca account with your application, similar to how some sites allow you to use your Google account to login. We will conclude by pulling an Alpaca user’s account balance. From there, I will leave the rest up to you.
 Alpaca
What Is OAuth?
OAuth is a framework that gives access to user data, without giving away their password. OAuth is specifically build for APIs, so that applications can be build on top of other existing applications. You can read more about the OAuth flow here.
In our case, a user would like to use our application. Our application might analyze the profitability of trades on the Alpaca platform. In order to use our application, a user needs to have an Alpaca account (resource owner). When a user loads our site, and clicks the button to connect their Alpaca account, our application (the client) requests authorization from Alpaca to look at the user’s trade history. Our application does not see or need the users password, Alpaca’s authorization server delivers a token to our application after confirmation that the user has an existing account. From there, our application can make requests to the Alpaca API with the token on behalf of the user.
More information regarding scope and grant types will be highlighted in part 2 when we cover the Alpaca OAuth guide in depth.
Let’s Get Started
Before beginning you will need to have node and npm installed on your device. You can read more about the boiler plate we will be using for React here.
Create-react-app is a popular choice and my personal preference for creating a new React application. It is the recommended choice for creating single page applications. Discussing other ways to spin up a react application is outside the scope of this tutorial.
The command below will download all of the necessary dependencies for the application we are building. The name of the application was arbitrarily chosen as “alpaca_firebase_oauth”.
npx create-react-app alpaca_firebase_oauthAfter running the above command, the file structure will look as follows:
alpaca_firebase_oauth
├── README.md
├── node_modules
├── package.json
├── .gitignore
├── public
│   ├── favicon.ico
│   ├── index.html
│   └── manifest.json
└── src
    ├── App.css
    ├── App.js
    ├── App.test.js
    ├── index.css
    ├── index.js
    ├── logo.svg
    └── serviceWorker.js
    └── setupTests.js
To install firebase for our application, run:
npm install firebaseAfter installing firebase, create a new folder in src called config and inside config create a new folder called Firebase, this is where our Firebase configuration will go. Create the file firebase.js inside the Firebase folder. When completed the file structure should look like:
alpaca_firebase_oauth
├── README.md
├── node_modules
├── package.json
├── .gitignore
├── public
│   ├── favicon.ico
│   ├── index.html
│   └── manifest.json
└── src
    ├── App.css
    ├── App.js
    ├── App.test.js
    ├── config
        └── Firebase
           └── firebase.js
    ├── index.css
    ├── index.js
    ├── logo.svg
    └── serviceWorker.js
    └── setupTests.js
On to Firebase
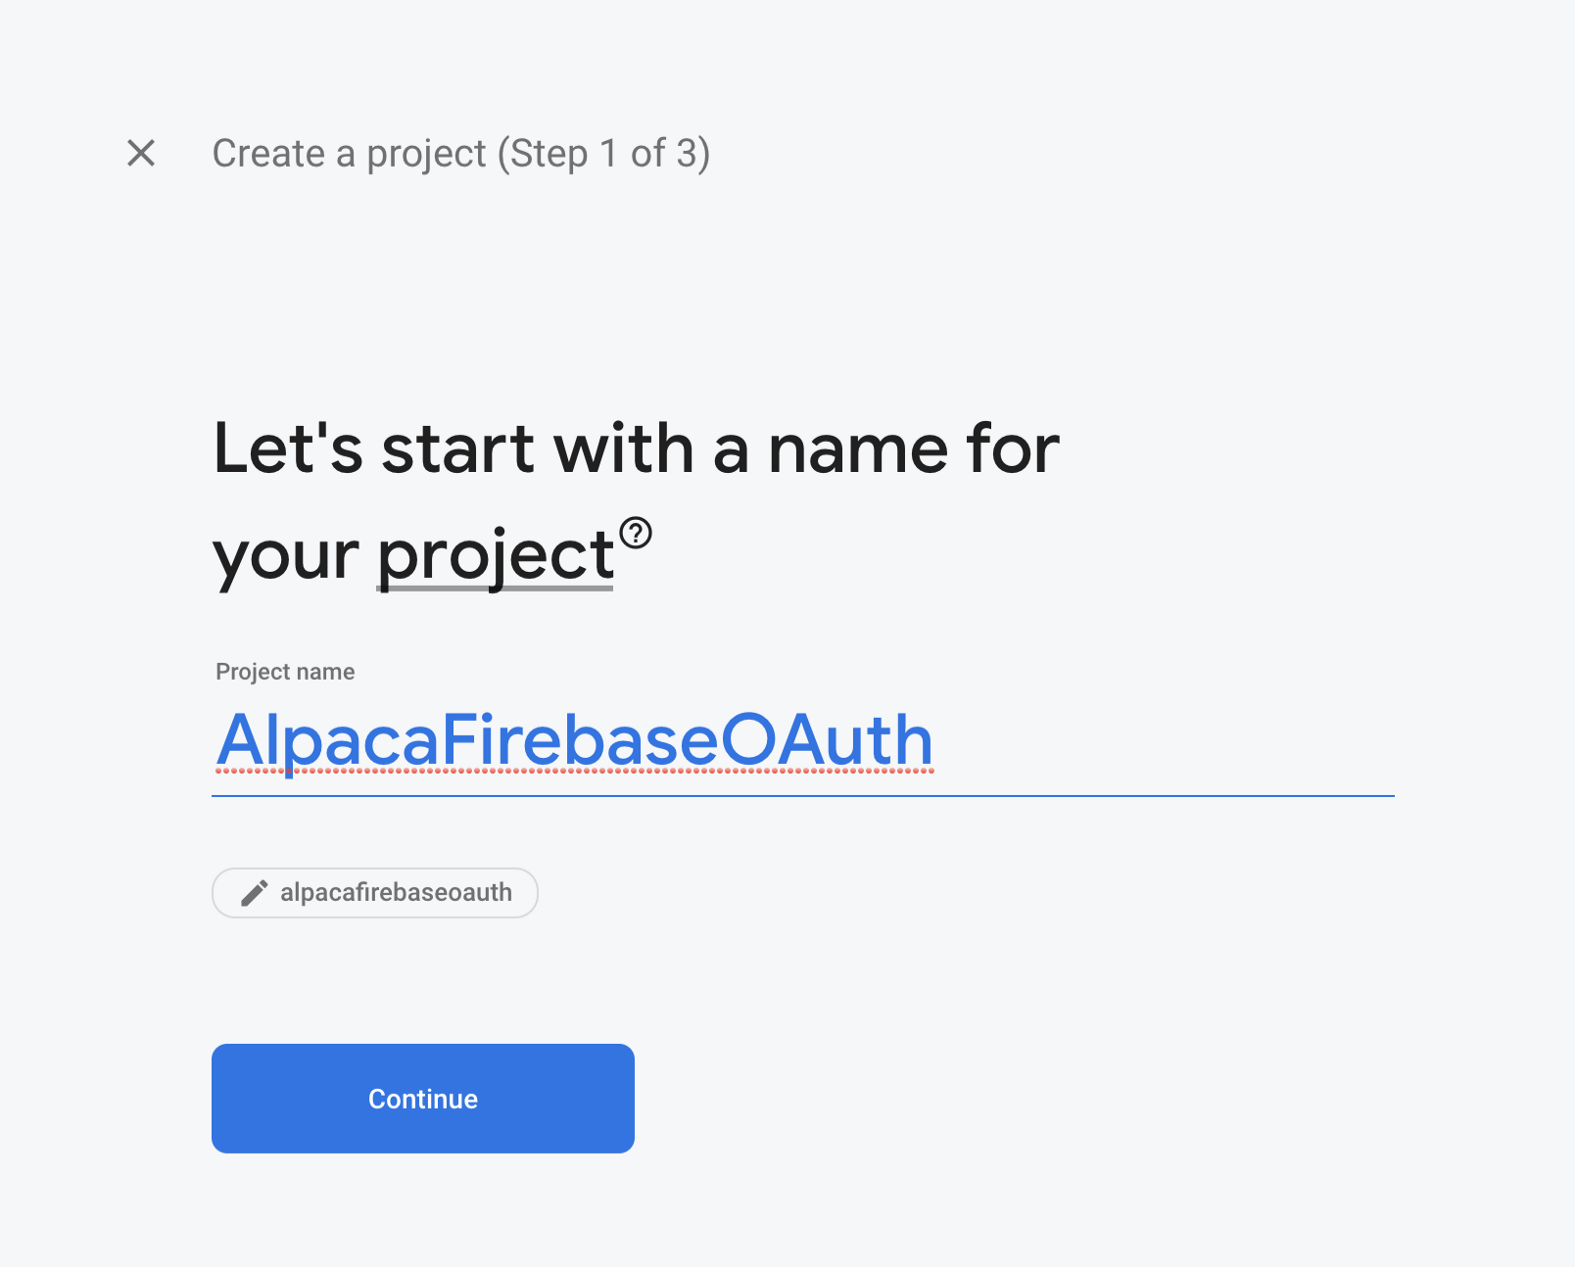
In order to create a project in firebase, you will need to create an account. After creating an account, click on the link for adding a new project. The steps for creating a project are listed below:
- Name the project. (Can be anything!)
2. Determine if you need Google Analytics for your app.
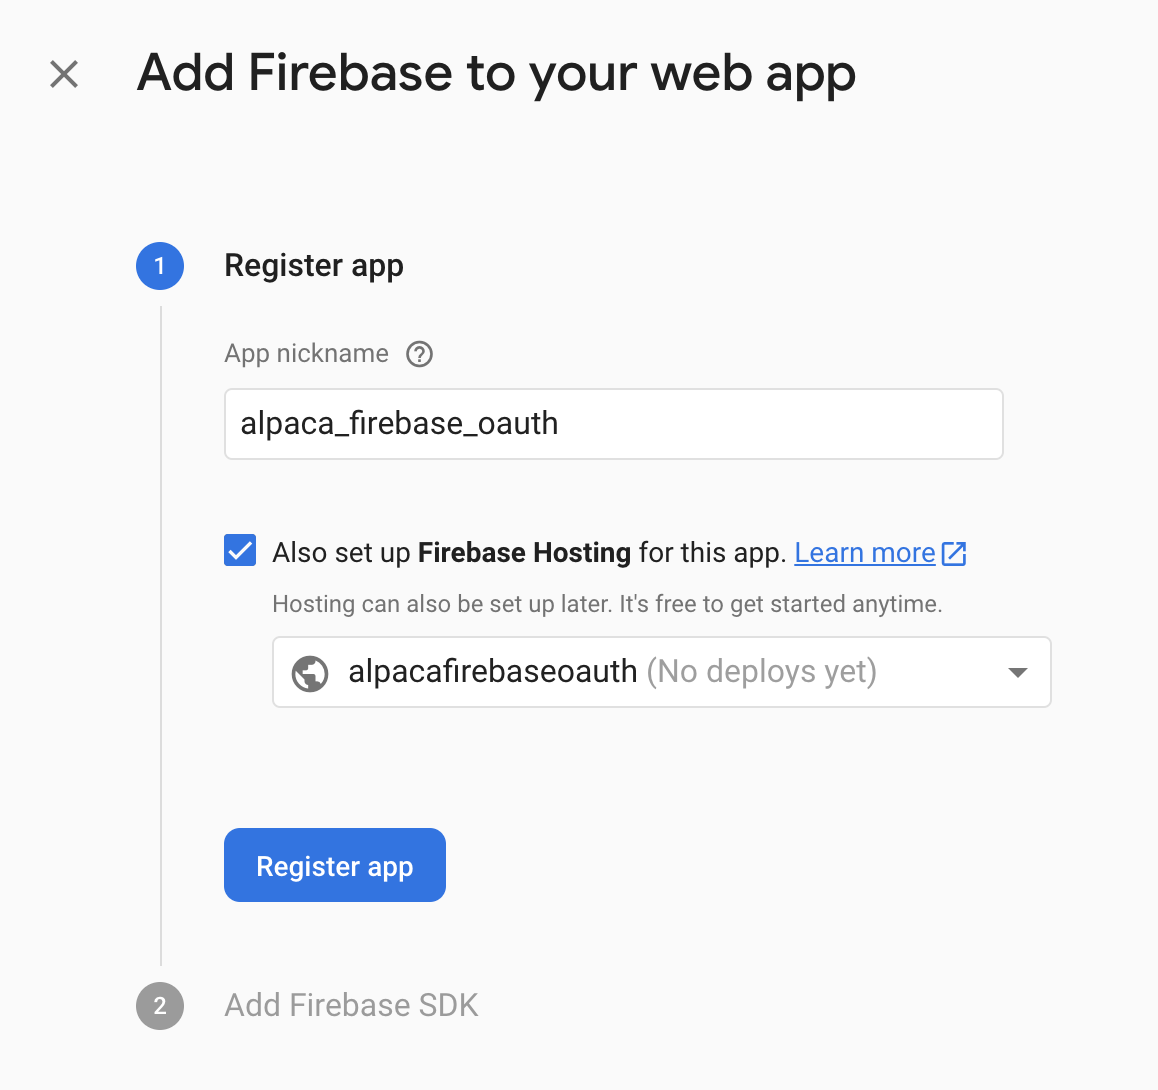
3. Register your app by selecting a nickname. Select set up firebase hosting if you intend to host your app with firebase.
4. Wait for your app to be configured. After configuration, find the project settings tab in the left hand sidebar and follow the link.
5. Scroll to the bottom of the page to find the following section:
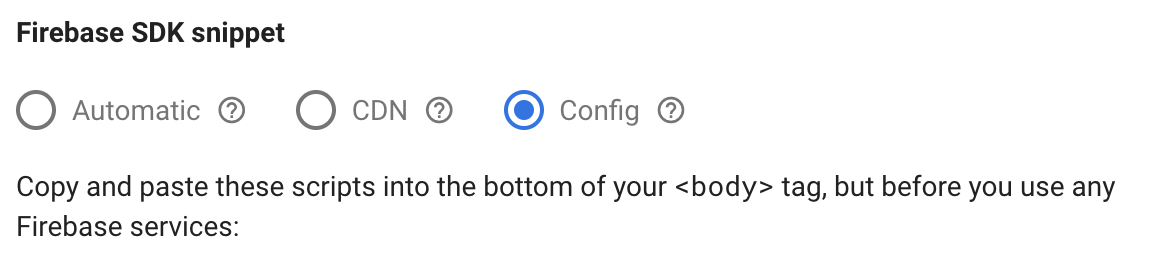
6. Select config and copy your unique information, like the example below:
const firebaseConfig = {
 apiKey: ,
 authDomain: ,
 databaseURL: ,
 projectId: ,
 storageBucket: ,
 messagingSenderId: ,
 appId: ,
 measurementId:
};
7. Hop on over to your app. Inside the firebase.js file. Copy and paste your config into the file, create the Firebase class and fill in the constructor as highlighted below.
import firebase from "firebase/app";
import "firebase/auth";
import "firebase/database"
import 'firebase/storage'
import  'firebase/functions'

const config = {

  };
  class Firebase{
      constructor(){
          firebase.initializeApp(config);
          this.auth=firebase.auth()
          this.db=firebase.database();
          this.storage=firebase.storage();
          this.functions=firebase.functions();

      }
  }
  export default Firebase;
In order to access Firebase throughout our app, we will be using something called React Context. React Context is a way to pass data around in your application without having to pass it through props an irrational number of times. If you are familiar with React, you understand the pain that Context solves. If you are not familiar with React, I recommend checking out this link to get a better understanding.
8. In the Firebase folder, create a new file called FirebaseContext.js, and type the following.
import React, {createContext} from 'react';
import Firebase from "./firebase"
export const FirebaseContext= createContext(null);

export const FirebaseProvider =(props)=> (
    <FirebaseContext.Provider value={new Firebase ()}>
        {props.children}
    </FirebaseContext.Provider>
);
9. Lastly, navigate to index.js and wrap your app with the previously created Firebase Provider. If you did your homework and brushed up on React Context, you should know that by wrapping the component, we can now access a singleton Firebase class in each component of our application.
import React from 'react';
import ReactDOM from 'react-dom';
import './index.css';
import App from './App';
import * as serviceWorker from './serviceWorker';
import {FirebaseProvider} from './config/Firebase/FirebaseContext';

ReactDOM.render(
  <React.StrictMode>
    <App />
  </React.StrictMode>,
  document.getElementById('root')
);

// If you want your app to work offline and load faster, you can change
// unregister() to register() below. Note this comes with some pitfalls.
// Learn more about service workers: https://bit.ly/CRA-PWA
serviceWorker.unregister();
Making It (kinda) Pretty
Since the purpose of react is to create user interfaces, we should probably focus on creating one. For this tutorial we will be keeping it incredibly simple and using React Bootstrap. Our UI will be minimal, to allow you to fully customize your application when the tutorial is complete.
To install React Bootstrap, run:
npm install react-bootstrap bootstrapIn the App.js file, delete all of the contents of the file between the initial <div> tags. After completion your entire App.js file should look like:
import React from 'react';

function App() {
  return (
    <div>

    </div>
  );
}

export default App;
You can also delete the App.css and logo.svg files, we do not have a use for them in this tutorial.
In your App.js file write the code seen below.
import React from 'react';
import {Container,Jumbotron,Button} from 'react-bootstrap'

function App() {
  return (
    <Container>
      <Jumbotron>
        <h1>Alpaca OAuth</h1>
        <p>
          This is a simple tutorial on how to connect to Google Firebase
        </p>
        <p>
          <Button variant='primary'>Conenct to Alpaca</Button>
        </p>
      </Jumbotron>
    </Container>

  );
}

export default App;
Finally, run
npm startnavaigate to http://localhost:3000/. You should see the following:
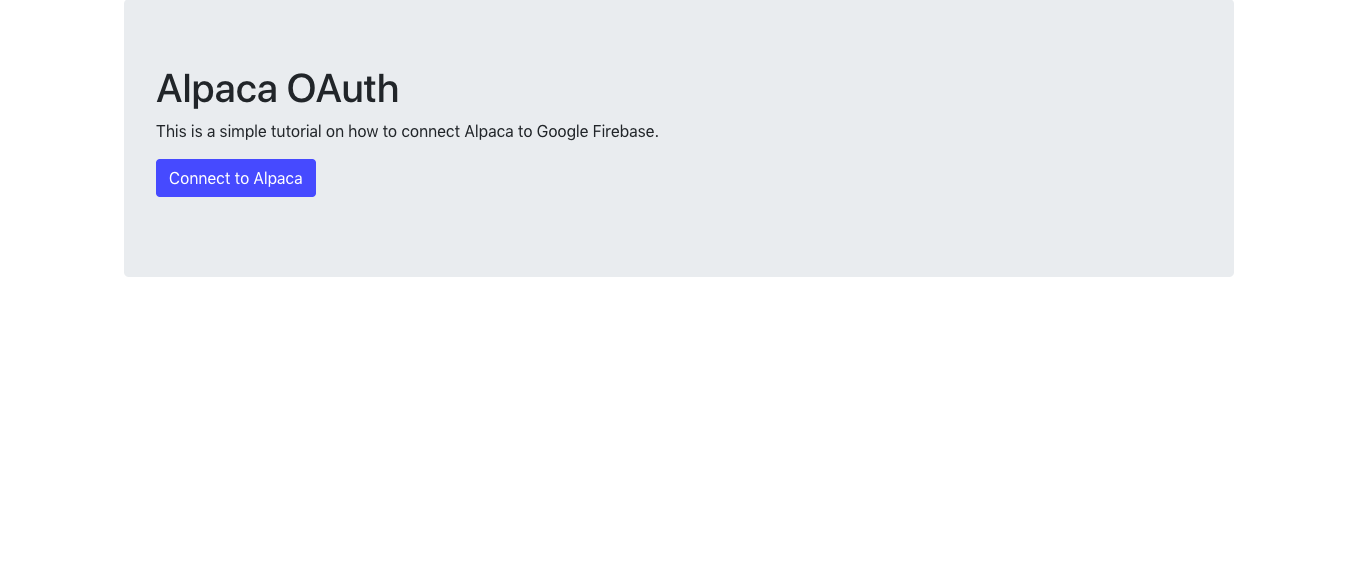
The main component of our application is the button. In the second part of this tutorial, I will show you how to write all of the application logic for connecting a user’s account to Alpaca through the use of a single button.
… Before We Go Any Further
In order to use firebase locally you will need to install some packages. Rather than unnecessarily rewriting, I recommend using the following guide to learn more about and install the firebase-cli.
firebase
The following line should be all you need:
npm install -g firebase-toolsThe firebase-cli will allow you to manage your projects directly from the command line.
Deployment
Deployment is essential because we will be using firebase functions in the second part of this tutorial to mock a back end in order to communicate with Alpaca’s OAuth Service. To begin with deployment, pop open a terminal.
You will need to login to your firebase account using the command:
firebase loginNext, initialize the project by running:
firebase initUsing the space bar to select options from the menu, select functions and hosting. Hit enter.
Select your previously created Firebase project.
Select Javascript for functions.
Type build when prompted for public directory
Select yes to configure as SPA
Upon completion of the configuration process, some newly created Firebase files should appear. Navigate into the new functions directory and run:
npm iAfter the dependencies finish installing, navigate back to the root and open the firebase.json. This file corresponds to the firebase configuration for hosting and functions that we just requested. Modify the firebase.json file to appear like the one below:
{
    "hosting": {
        "public": "build",
        "ignore":[
            "firebase.json",
            "**/.*",
            "**/node_modules/**"
        ],
        "rewrites": [
            {
                "source": "**",
                "destination": "/index.html"
            }
        ]
    },
    "functions": {
        "predeploy": [
            "npm --prefix \"$RESOURCE_DIR\" run lint"

        ],
        "source": "functions"
    }
}
Back in the terminal, run
npm run buildThis will create a build folder which firebase will use for hosting.
Finally, run:
firebase deployWait for the process to complete. When the process is finished, navigate to the link provided in the terminal, and you should see same app as you saw locally.
On to Alpaca
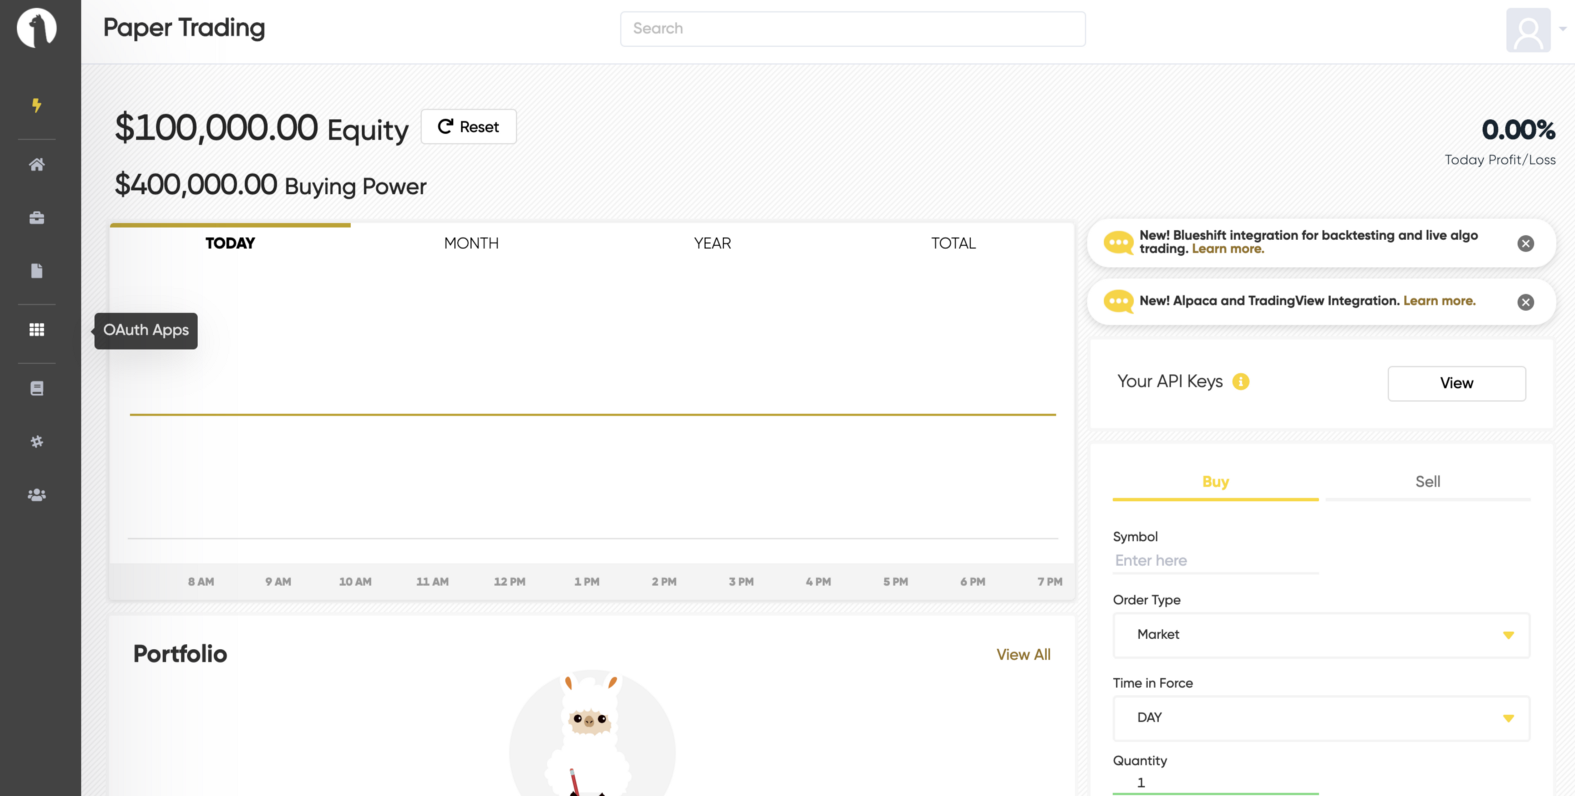
In order to utilize the OAuth feature that Alpaca offers, you must create an OAuth App from the Alpaca Dashboard. From the dashboard select the menu item titled “OAuth Apps”.
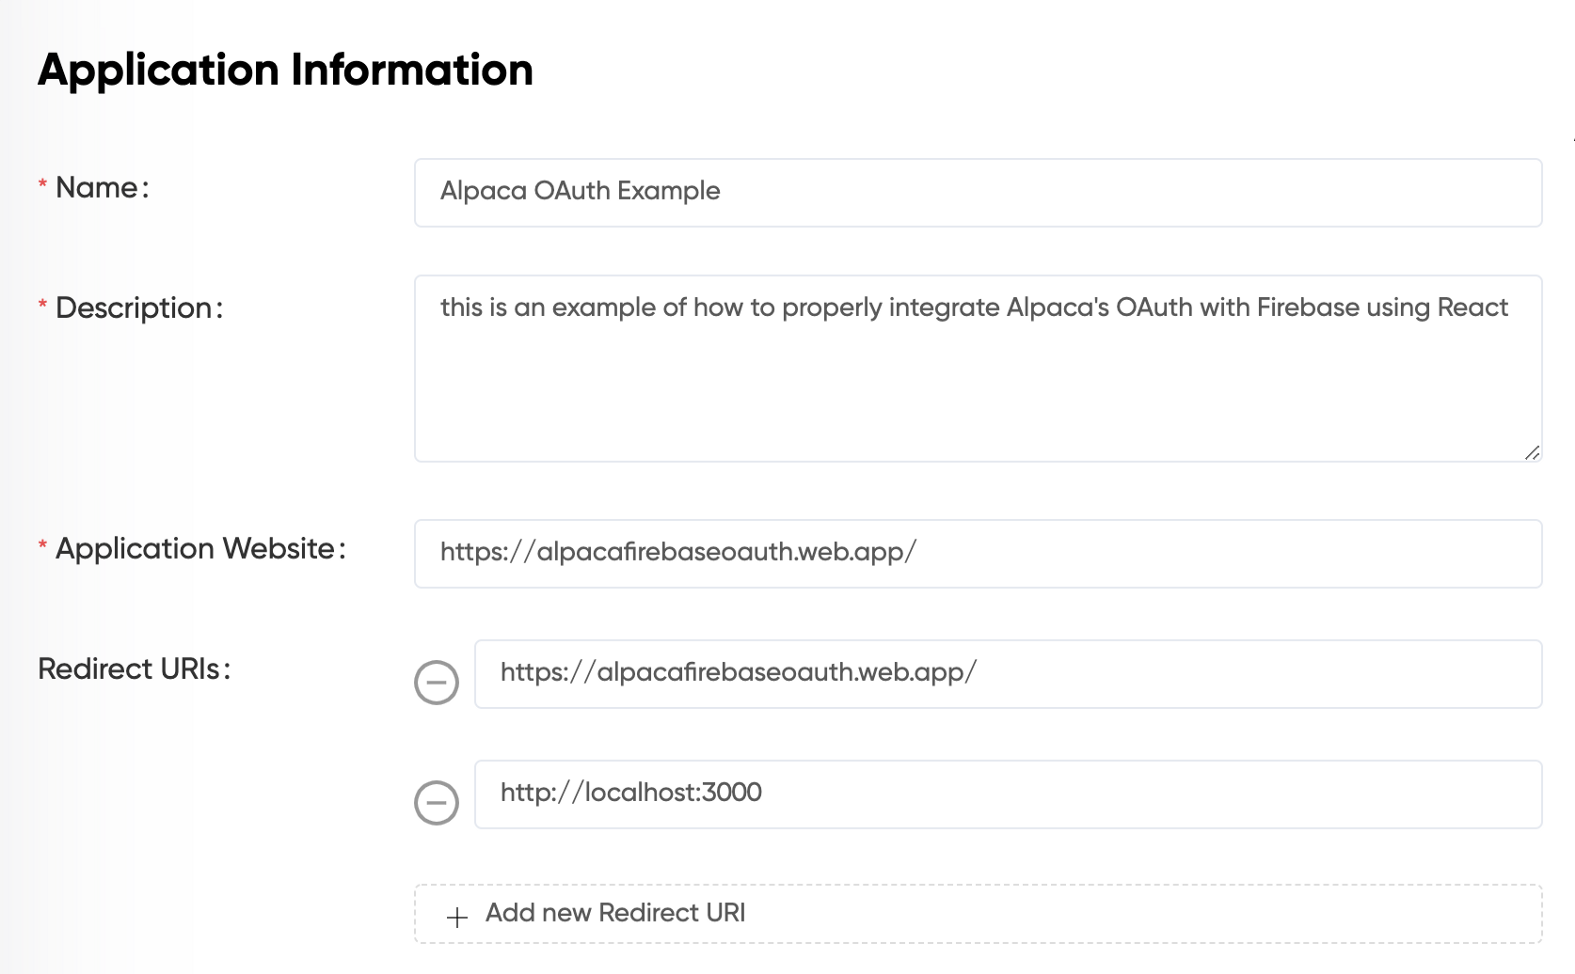
Fill out the Application Information Form. An example of the application is filled in below. The main highlight of the application form is the redirect uri fields. If you are hosting the application, make sure you include the base url. If not, include the local host port you are using. This step is essential to proper functionality.
You should receive permission to being testing your app immediately. The next step is to copy the client id and client secret provided by Alpaca. Next, navigate back to your terminal. In your project directory, run the following command, with your credentials pasted in their respective spots.
firebase functions:config:set alpaca.client_id=”CLIENT_ID" alpaca.client_secret=”CLIENT_SECRET”
This command sets the environment variables in the cloud, so that we can access them when we begin building our cloud functions.
Wrap Up
With our boilerplate established. In the next tutorial we will be creating Firebase functions to handle the OAuth process. Firebase functions run in the cloud and can be considered more secure than spinning up a server. The authentication process will all be handled through a single button component.
Again all of the code for the following tutorial discussed today can be found in this repo.
grahamguthrie99…Stay tuned for Part 2.
Technology and services are offered by AlpacaDB, Inc. Brokerage services are provided by Alpaca Securities LLC (alpaca.markets), member FINRA/SIPC. Alpaca Securities LLC is a wholly-owned subsidiary of AlpacaDB, Inc.
You can find us @AlpacaHQ, if you use twitter.