As many of you might know, Alpaca is more than just an API for trading stocks. Yes, you can use our API to trade and manage your portfolio with algorithms, but you can also do much more. From building trading apps to launching risk management systems. The opportunities to which one can build upon the Alpaca API is endless.
Here at Alpaca, we love to see community members build personal products on top of our API so we wanted to show you a possible example of how it could be done.

Contents
Raven - The Demo iPhone App
Over the next two months, we will be releasing a series of articles about our demo iPhone app, Raven, that will allow users to trade from their phone, just like they would on other brokerage apps. For the purposes of this project, we will be focusing entirely on using the paper-trading version of the Alpaca API. Additionally, they should be able to set financial goals within their account, allocate a percentage of their portfolio to this goal, and be given a recommendation of ETFs that could possibly help them meet this goal. This recommendation will be built on their risk tolerance, time horizon, and amount of money allocated. The goals for this project are:
- Showcase Alpaca's API
- Build a user-friendly front-end
- Establish a Flask server for data handling and fetching
- Demonstrate how simple it is to build projects like this with Alpaca
Let's Begin
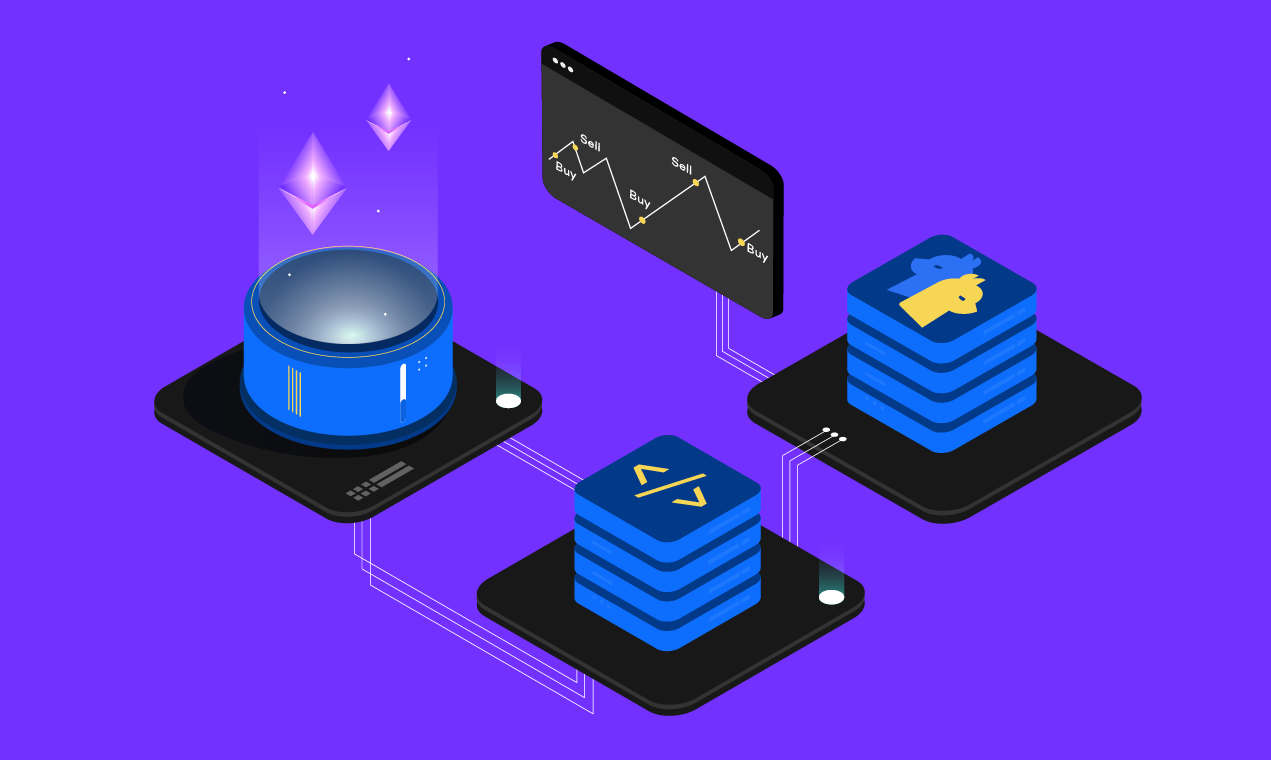
First off, we need to set up our project. We will be using 3 main components:
- Firebase for our database
- Flask for our backend server
- Swift for our front-end
There are many other options and frameworks for all these components, but I've chosen to go with these due to a variety of reasons, including ease of use, familiarity, and scalability. Flask is a very lightweight web application framework, Firebase is simple to setup and get started with, and Swift allows us to build usable iPhone applications that aligns well with the mobile fin-tech app hype that is currently ongoing across the world.
Starting with Firebase, you will need to go to firebase.google.com and set up a project.

Follow the instructions listed on the website, and after setting up the project, make sure to keep the config code that is provided to you. This will look something like:
firebaseConfig = {
    "apiKey": "lwjbePIEHFO123KBOWLIbljebfo",
    "authDomain": "something.firebaseapp.com",
    "databaseURL": "https://something.firebaseio.com",
    "projectId": "something",
    "storageBucket": "something.appspot.com",
    "messagingSenderId": "2347749932",
    "appId": "1:529454052013:web:e87wolei292mbdw0c24",
    "measurementId": "G-JHSKN0SO3"
}
Now, let's set up our Flask server. I think https://realpython.com/flask-by-example-part-1-project-setup/ does a great job explaining how to set this up.
 Real Python
In a nutshell, you will need:
- Python installed
- An IDE (VSCode works well)

- Flask installed
After setting it up, run python3 filename.py to double check that the server is up and running without any issues. Finally, we need to set up our iPhone app. To do this, open up XCode and start a new project. (Start it as a Single View App)
Logging In
In our application, we need to allow users to type in their account information. They either need to set up a new account, or log into a previously existing account. When first-time users want to sign on to the application, we need to follow Alpaca's OAuth Guide to set up our application so that we can retrieve the new user's access token.
 Alpaca
In a nutshell, we need to allow users to:
- Sign into their Alpaca Account
- Give Raven permission to interact with their information
- Save their credentials to our database
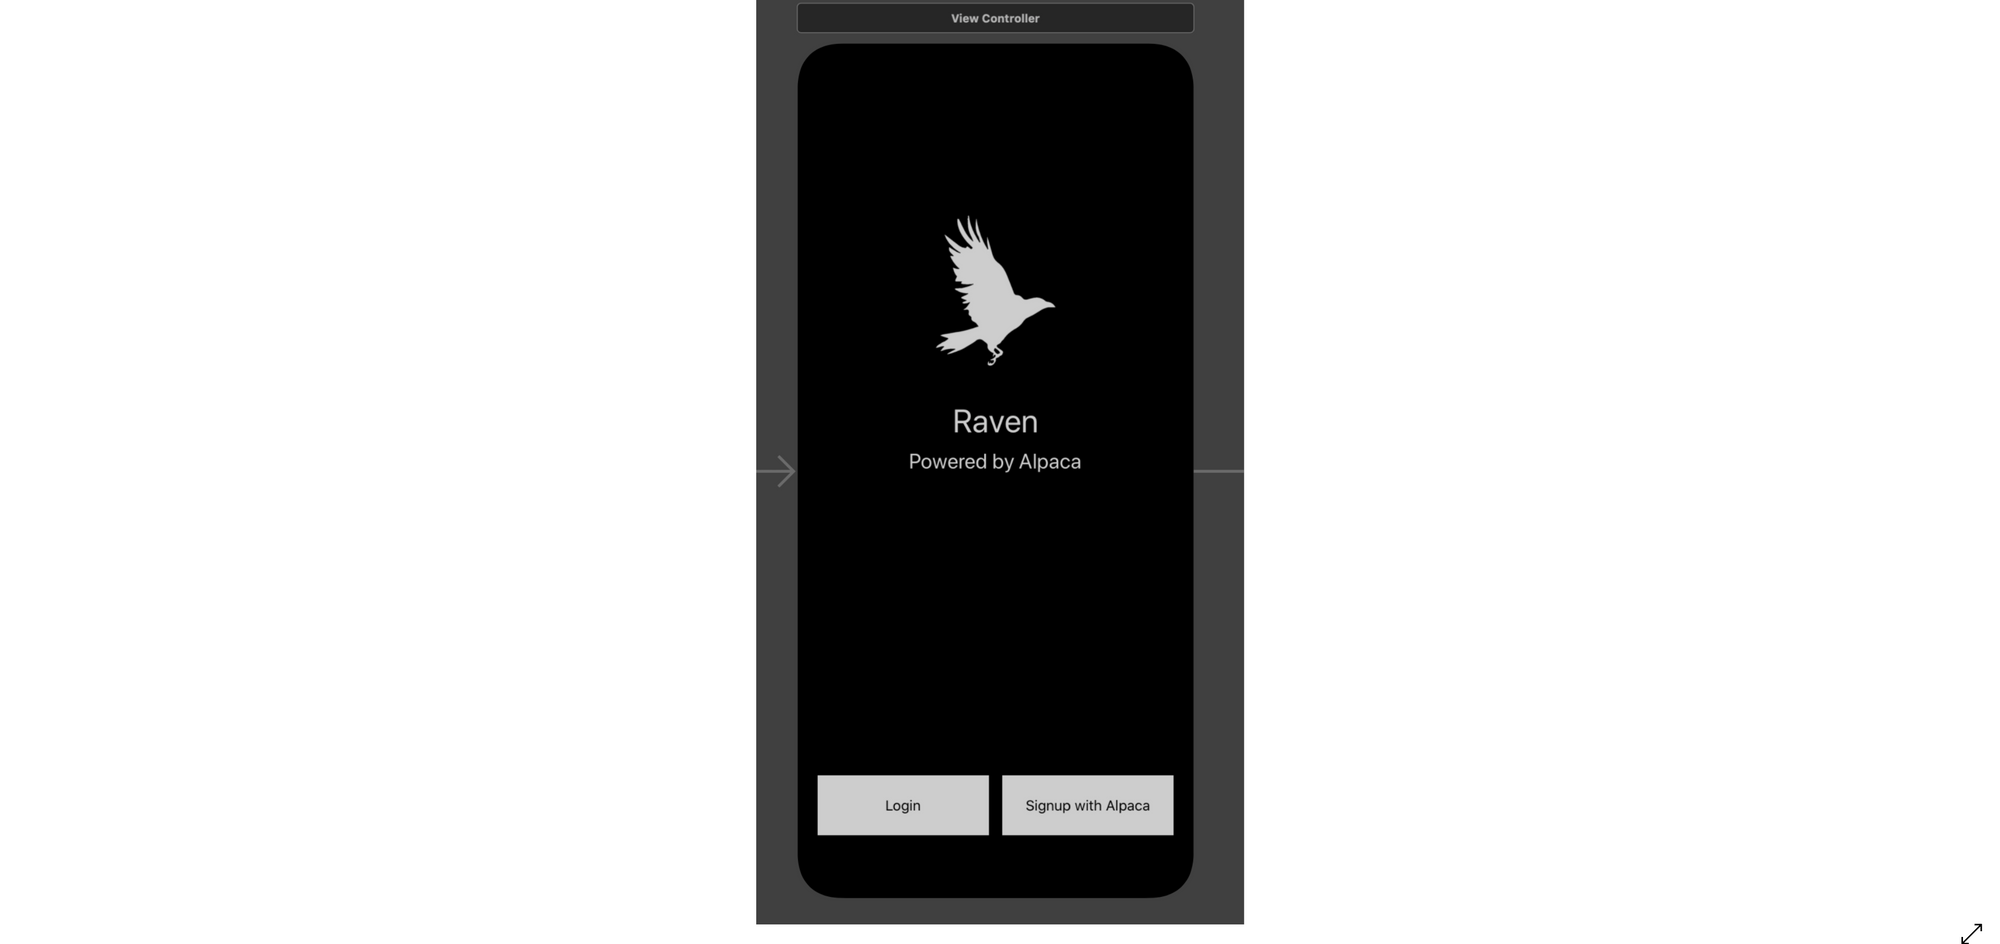
Starting with our Swift frontend, let's create a basic login screen. One way to create a view is to use View Controllers in the Storyboard, and dragging/dropping the required components into their desired location. Navigate to the Main.storyboard file, and create two buttons (one for logging in and one for signing up).Feel free to design the screen however you like. This is what mine looks like
Now, let's make a file, called ViewController.swift, that will be linked to this View Controller. Now, inside this file, we want to create functions linked to the two buttons that we created. You can do this by right clicking on the button and dragging to the file you just created. Let's focus on the Signup button for now. We want to show our users the alpaca login screen, allow them to input their credentials, and then give our application the proper permissions. You can do this by using a SafariViewController, which will open up the website in app.
import UIKit
import SafariServices
class ViewController: UIViewController, SFSafariViewControllerDelegate {
@IBAction func showAlpacaAuth() {
guard let url = URL(string: "https://app.alpaca.markets/oauth/authorize?response_type=code&client_id=ab81e04102c6d2ea5784932563d76109&redirect_uri=http://127.0.0.1:5000/main&state=8e02c9c6a3484fadaaf841fb1df290e1&scope=account:write%20trading") else { return }
let vc = SFSafariViewController(url: url, entersReaderIfAvailable: true)
vc.modalPresentationStyle = .popover
vc.delegate = self
present(vc, animated: true)
}
override func viewDidLoad() {
super.viewDidLoad()
// Do any additional setup after loading the view.
}
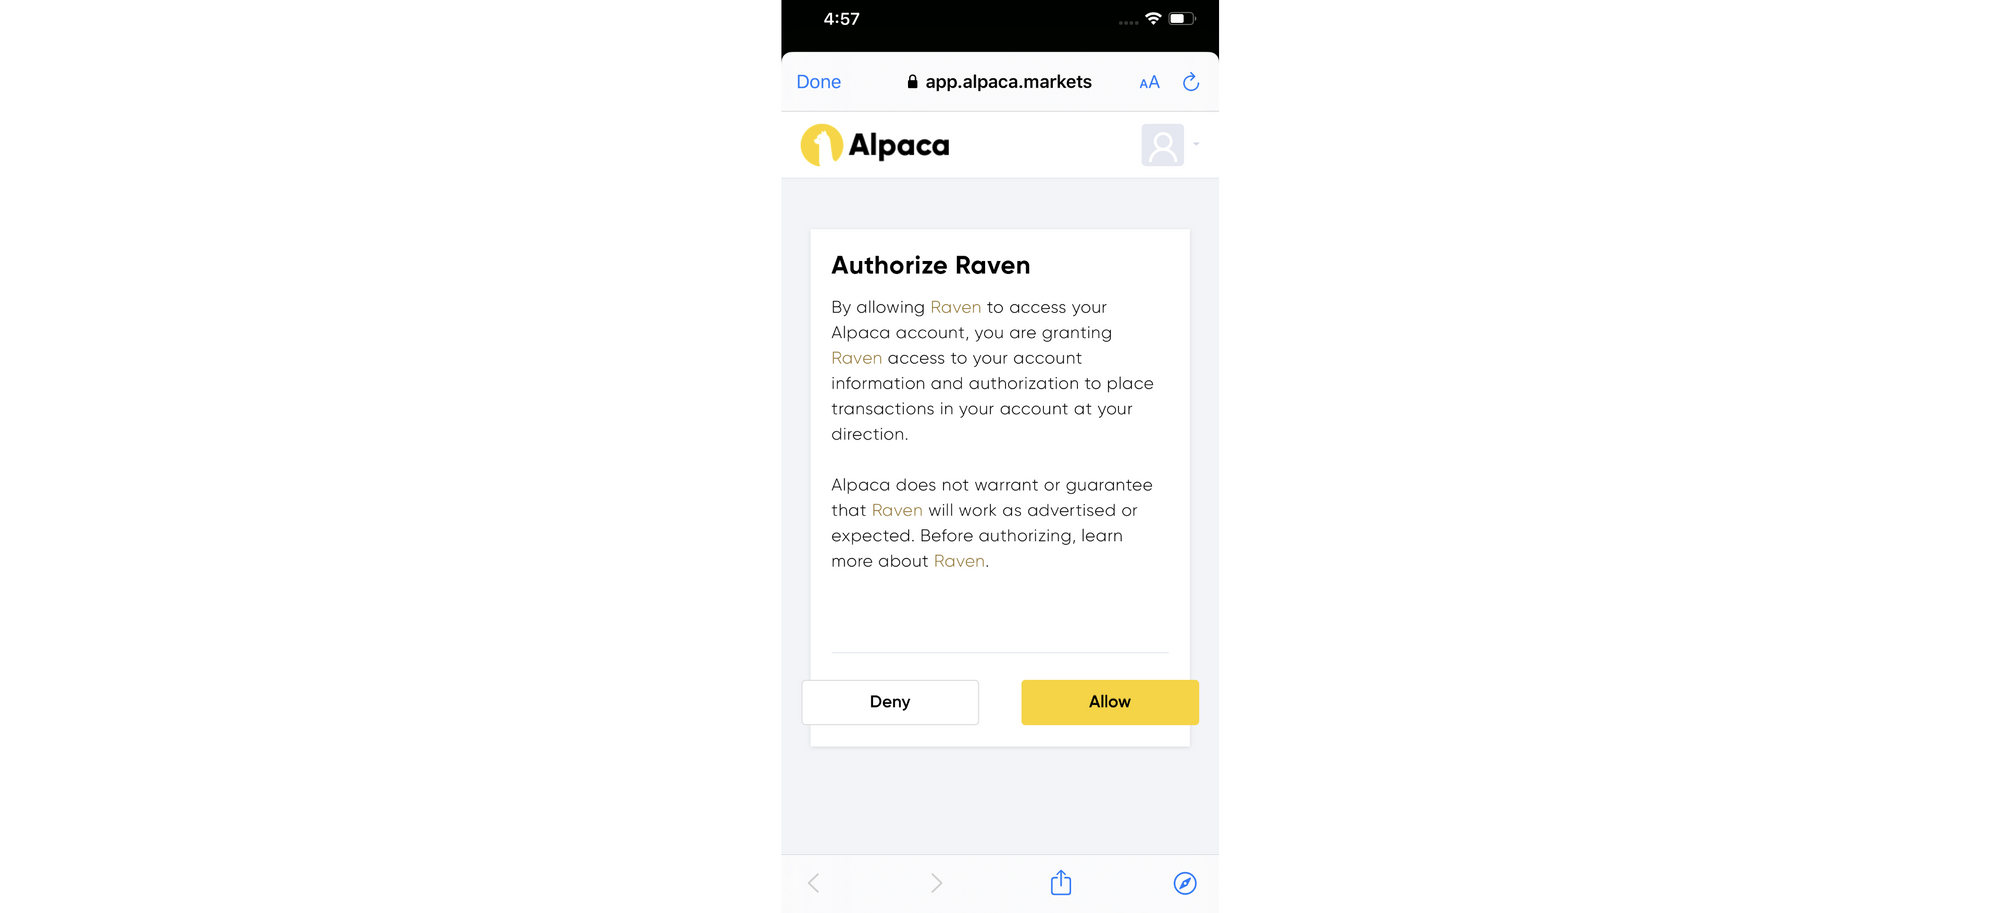
}The URL is templated straight from the Alpaca OAuth Guide. Use the client_id that was generated when you registered your app with Alpaca. Additionally, the redirect_uri should be explicitly listed when registering your app, and for this tutorial, should point to another local endpoint that we will build out in our Flask backend. The state is optional, but you should specify the scope because the default gives only read access to us. Now, when a new user clicks the signup button, we should be seeing something like this
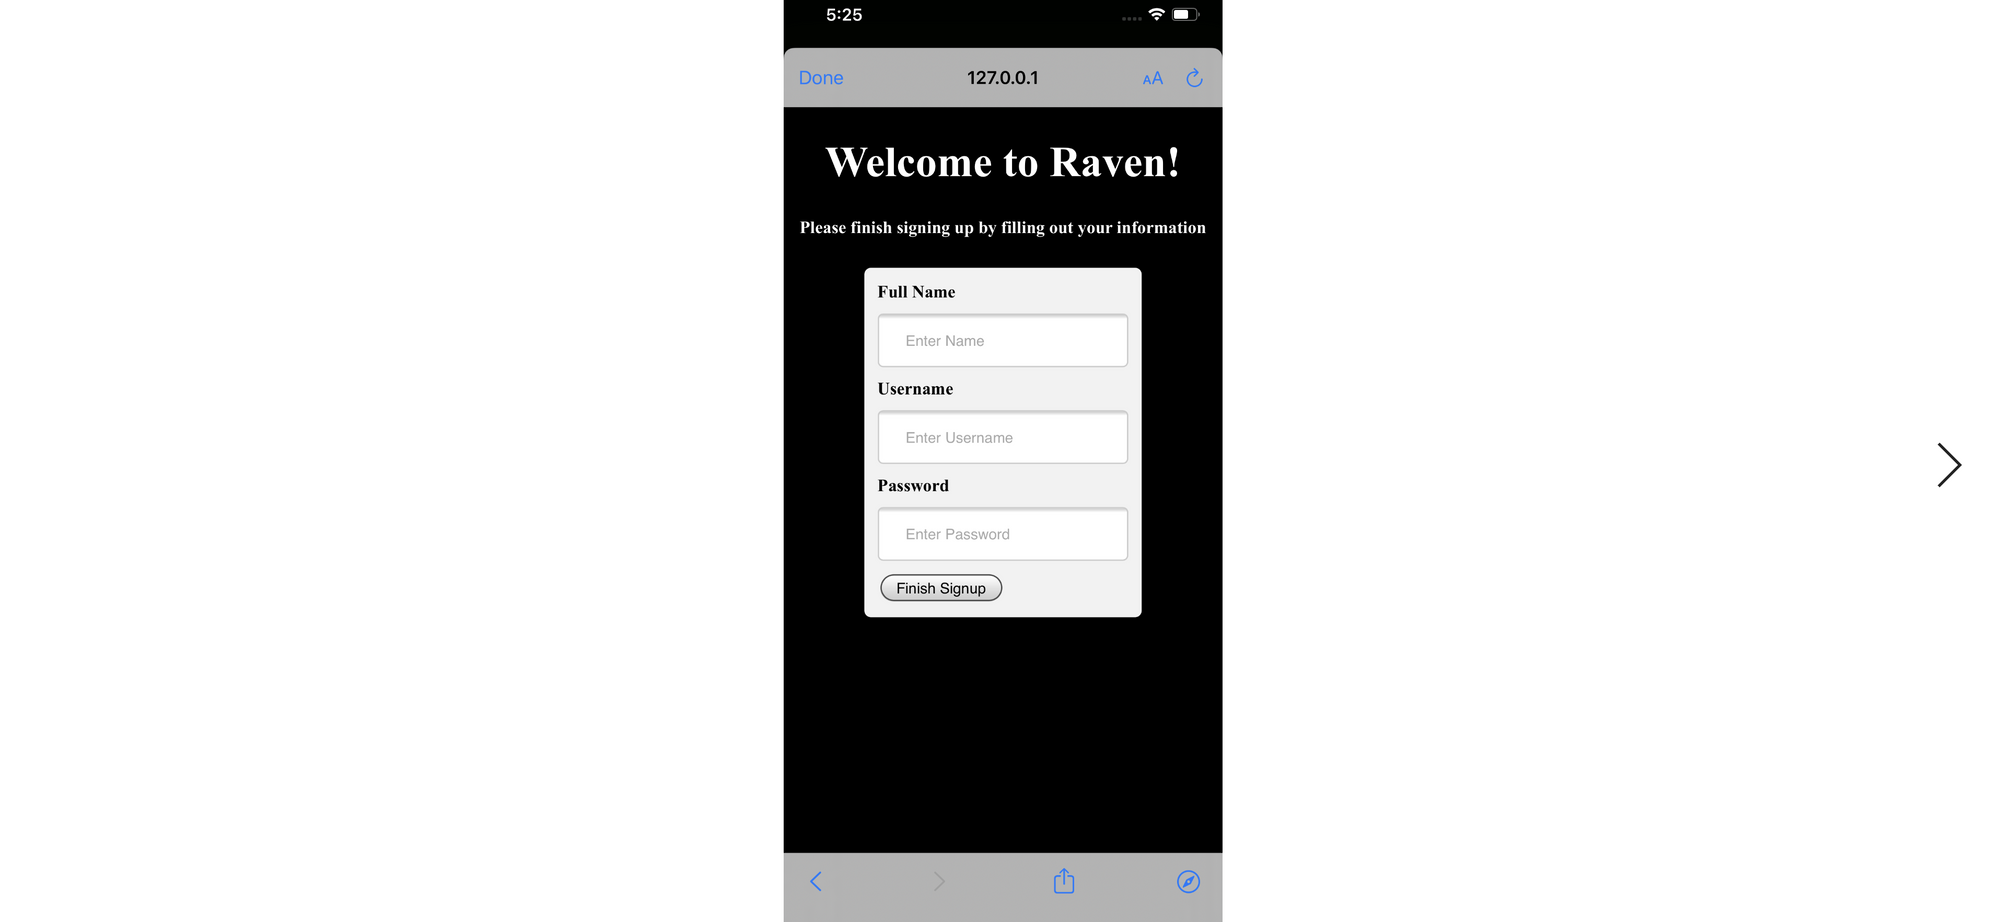
Now, we need to build out our endpoint with Flask that we will go to once the user (hopefully) clicks "Allow." For purposes of simplicity, let's show the user a simple webpage that will allow them to input their name, username, and password that they will use to login into our system from now on (shown on the right). You can do all this with Flask by called render_template. We can specify that when our endpoint gets a GET request, we should display our webpage, and when we get a POST request (from our submit button), we should add the credentials to our firebase database (using the config that we had already added to our file before).
```
firebase = pyrebase.initialize_app(firebaseConfig)
db = firebase.database()

@app.route('/main', methods=['GET', 'POST'])
def main_page():
    if request.method == "GET":
        return render_template("signup.html")
    if request.method == "POST":
        # this is where we submit it to the database
        code = request.args.get('code')
        name = request.form["name"]
        username = request.form["username"]
        password = request.form["password"]
        head = {"Content-Type" : "application/x-www-form-urlencoded"}
        data = {"grant_type": "authorization_code", "code" : code, "client_id": client_code, "client_secret": client_secret, "redirect_uri": "http://127.0.0.1:5000/main"}
        access_data = requests.post("https://api.alpaca.markets/oauth/token", data = data, headers=head)
        access_token = json.loads(access_data.text)["access_token"]
        head = {"Authorization": "Bearer " + access_token}
        polygon_data = json.loads(requests.get("https://api.alpaca.markets/oauth/token", headers=head).text)
        userData = {
            "name": name,
            "username": username,
            "password": password,
            "token": access_token,
            "polygonToken": polygon_data["id"]
        }

        db.child("tokens").child(access_token).set(userData)
        return "Signup Finished. Please navigate back to the app and login!"
```
This is what sign_up.html will looks like. This can be any HTML file. The only thing that's important is that we should be able to type in the information we want to store for our users credentials.
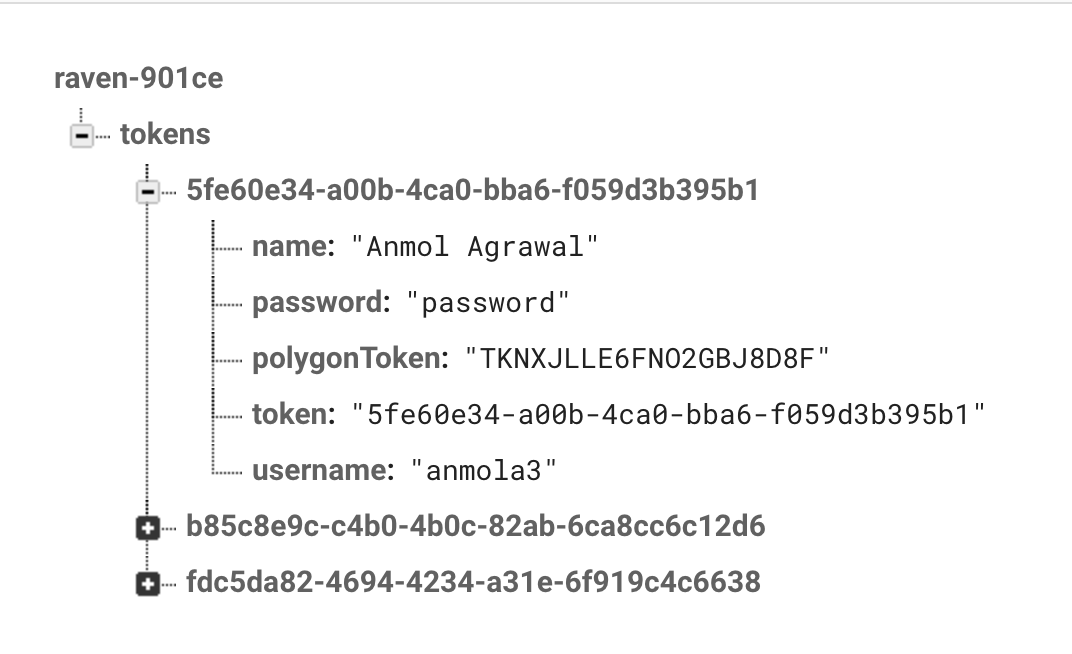
After having wrapped all this up, you can navigate to your Firebase Console, and if you followed the given format, the database should have entries that look like this:
Finally, we need to allow existing users to login. High-level, we're going to add functionality to our Login button in Swift to ping our Flask backend, which will then search the Firebase database to see if there exists a user with a given username and password. In the front-end, we need to show another screen that will allow users to input their credentials. Again, there are many ways you can design your front-end, but one way is to create another View Controller and build a simple form there. To do this, go back to your storyboard, and create a new View Controller. Next, you want to create a segue to this new View Controller.

You will also need to add an ID to the Segue that we just created (click the square in the middle of the segue arrow and go to the Attributes Inspector on the righthand side). Within ViewController.swift, let's add this function to initiate the Segue by:
@IBAction func showLogin() {
     self.performSegue(withIdentifier: "toLogin", sender: self)
}
We now need another file that will connect to this controller (let's call it LoginViewController). In this ViewController, we will have 2 UITextFields (username and password), and 1 UIButton (login). My LoginViewController looks like:
```swift
class LoginViewController: UIViewController {
    @IBOutlet var username: UITextField!
    @IBOutlet var password: UITextField!
    var token: String?
    var polygonToken: String?

    @IBAction func login() {
        let email: String = username.text!
        let passwordText: String = password.text!
        let url = URL(string: "http://127.0.0.1:5000/verifyUser?username=" + email + "&password=" + passwordText)!
        let defaultSessionConfiguration = URLSessionConfiguration.default
        let defaultSession = URLSession(configuration: defaultSessionConfiguration)
        var urlRequest = URLRequest(url: url)
        urlRequest.httpMethod = "GET"

        let dataTask = defaultSession.dataTask(with: urlRequest) { (data, response, error) in
            guard let data = data else { return }
            let response = String(data: data, encoding: .utf8)?.split(separator: "|")
            self.token = String(response![0])
            self.polygonToken = String(response![1])
            if (self.token != "No Token Found") {
                DispatchQueue.main.async {
                    self.performSegue(withIdentifier: "toMain", sender: self)
                }
            } else {
                print("No Account Found")
            }

        }
        dataTask.resume()
    }

    override func prepare(for segue: UIStoryboardSegue, sender: Any?) {
        if (segue.identifier == "toMain") {
            guard let mainPageController = segue.destination as? MainViewController else{return}
            mainPageController.token = self.token
            mainPageController.polygonToken = self.polygonToken
        }
    }

    override func viewDidLoad() {
        super.viewDidLoad()
        // Do any additional setup after loading the view.
    }
}
```
Let's dissect everything that's going on in this file. As discussed, when the user hits the login button in this new View Controller, it will call the login() method. This will then make a GET request to the /verifyUser endpoint (which we have yet to define). It will pass in the username and password as arguments. The endpoint will return either "No Token Found" or a string containing the Alpaca and Polygon tokens (that we stored in the step before). If the account is found, we perform another segue to a new View Controller. In Swift, the prepare function is called before any segue is initiated, and in our prepare, all we are doing is passing along the tokens so that we can continue to use them in the next stages of our application.
Let's take a look at how this looks in the backend.
@app.route('/verifyUser')
def authUser():
    username = request.args.get('username')
    password = request.args.get('password')
    accounts = db.child("tokens").get()
    token = "No Token Found"
    for account in accounts.each():
        if account.val()["username"] == username and account.val()["password"] == password:
            token = account.val()["token"] + "|" + account.val()["polygonToken"]

    return token
Very simply, we assume there is "No Token Found", and if we do find it, then we return the tokens separated by "|" (which is what we used to split the string in our frontend above).
Next Steps
In the next article, we're going to mainly look at how we can retrieve updated Alpaca account information and how to place market buy/sell orders. To reiterate, there are many improvements that can be made to the code I have shared here. Later in the series, I will be making the Github repository for this project public, and we would love to see improvements to the project that all of you have made! Happy Coding from Alpaca, and until next time ✌️
Commission-Free trading means that there are no commission charges for Alpaca self-directed individual cash brokerage accounts that trade U.S. listed securities through an API. Relevant SEC and FINRA fees may apply.
Technology and services are offered by AlpacaDB, Inc. Brokerage services are provided by Alpaca Securities LLC (alpaca.markets), member FINRA/SIPC. Alpaca Securities LLC is a wholly-owned subsidiary of AlpacaDB, Inc.
You can find us @AlpacaHQ, if you use twitter.