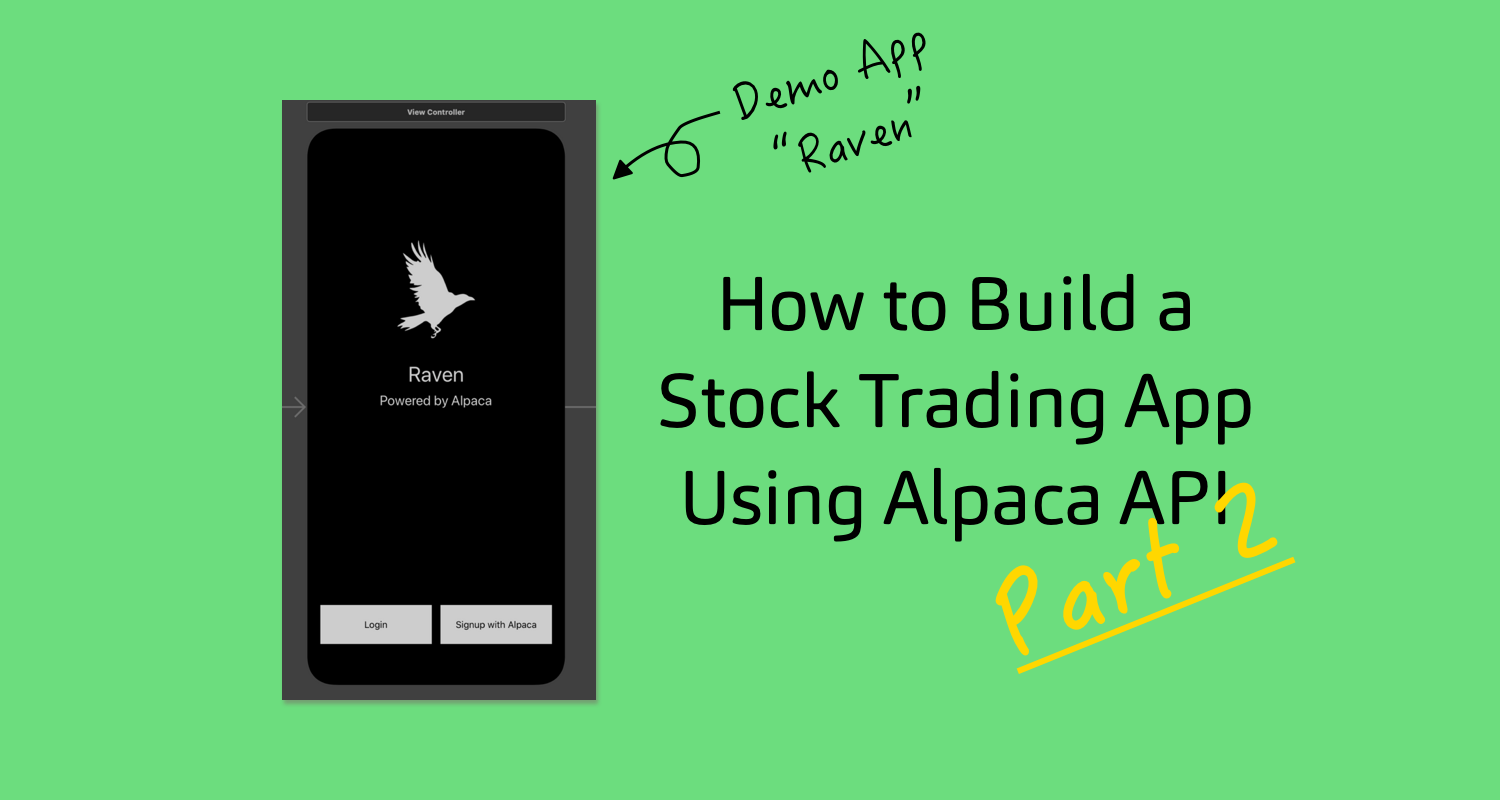
Welcome back! This is the second article in our series where we will continue writing out features for our iPhone app - Raven. Going back to what we discussed last time, we want to build a mobile app that has all the functionality of a professional brokerage by utilizing the Alpaca API.
 Alpaca
We also want to build a financial goal-setting feature, which we will cover in upcoming articles. As previously discussed, we will be using:
- Firebase for our database
- Flask for our backend server
- Swift for our mobile front-end
Last time around, we finished setting up all of our basic infrastructure and we finished the login functionality.
 Alpaca Team
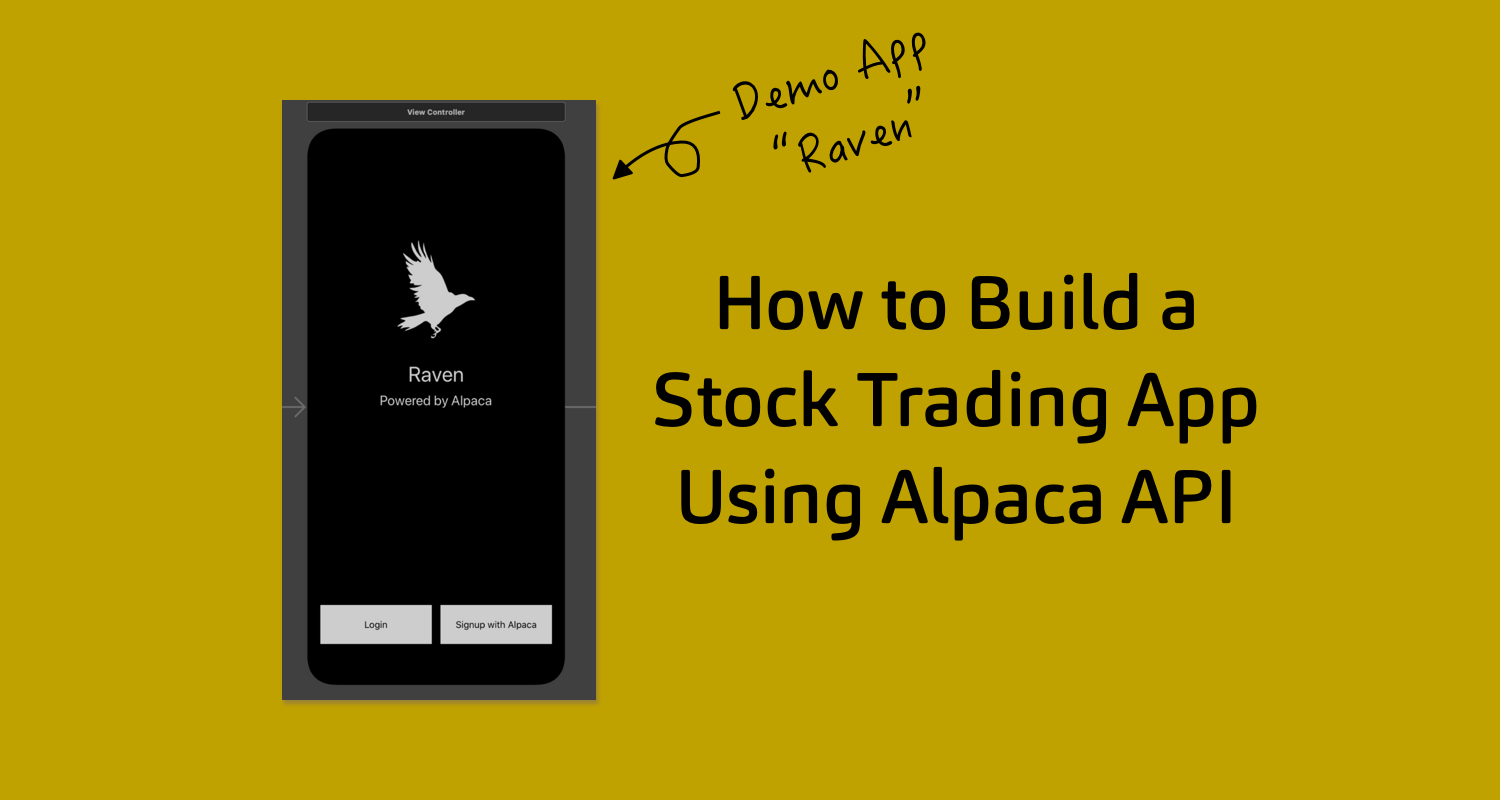
Now, users can go onto our app, sign in with their Alpaca account, and register their username and password into our database. Now, let's give them something to look at once they actually log in.
Home Screen
As with all mobile brokerage apps, we want to show the user an overview of their portfolio on the main page. At a minimum, this should show their overall portfolio value, a graph showing its performance for the day, and their positions. So let's get started by building out the View that will show this in Swift.
Something to keep in mind is that in our app, we will need to "stream" data so that we can keep everything up to date. The reason why I put that in quotes is that we will not actually be utilizing Websockets to stream data directly. Streaming data tends to be much heavier than we require for a demo application. In practice, a team of developers would need to set up a robust service on their backend to accommodate for many user's subscriptions, but instead, we will simply schedule recurring REST API calls when necessary ?
Let's create a new folder called Views for organization. Within this, create a new file called HomeView. This will hold everything that we want to show on our landing page. Let's include a search bar at the top (so users can look up stocks), a label for our overall portfolio_value, and a line chart to show our performance. For graphing, we will be using the Charts library (follow their instructions to set up Charts in your project).
 danielgindi
import UIKit
import Charts

class HomeView: UIView, UISearchBarDelegate {
    var search_bar: UISearchBar!
    var portfolio_value: UILabel!
    var scrollView: UIScrollView!
    var graph: LineChartView!
    var graph_data: [ChartDataEntry] = []

		override init(frame: frame) {
			super.init(frame:frame)
        backgroundColor = UIColor.black

        search_bar = UISearchBar(frame: CGRect(x:0, y: 0, width: self.frame.width-20, height: 50))
        search_bar.placeholder = "Search"
        search_bar.backgroundColor = UIColor.clear
        search_bar.barStyle = .black
        search_bar.isTranslucent = true
        search_bar.barTintColor = UIColor.clear

        let p_lbl = UILabel(frame: CGRect(x:10, y:75, width: self.frame.width, height: 50))
        p_lbl.font = UIFont.boldSystemFont(ofSize: 25)
        p_lbl.text = "Portfolio Value"
        p_lbl.textColor = UIColor.white

        portfolio_value = UILabel(frame: CGRect(x:10, y:125, width: self.frame.width, height: 50))
        portfolio_value.font = UIFont.systemFont(ofSize: 30)
        portfolio_value.text = "Portfolio Value"
        portfolio_value.textColor = UIColor.white

        graph = LineChartView(frame: CGRect(x:0, y:175, width: self.frame.width-20, height: 300))
        graph.leftAxis.enabled = false
        graph.rightAxis.enabled = false
        graph.xAxis.enabled = false
        graph.legend.enabled = false
        graph.xAxis.axisMaximum = 390
        graph.animate(xAxisDuration: 1)

        scrollView = UIScrollView(frame: CGRect(x:10, y:50, width: self.frame.width - 20, height: self.frame.height - 100))

        scrollView.addSubview(search_bar)
        scrollView.addSubview(p_lbl)
        scrollView.addSubview(portfolio_value)
        scrollView.addSubview(graph)
        scrollView.contentSize = CGSize(width: self.frame.width-20, height: self.frame.height - 100)

        addSubview(scrollView)
		}

		required init?(coder: NSCoder) {
        fatalError("Fatal Error has Occurred")
    }
}
This will be the basic framework for the View. To break this down a little, we created all of our components and added them all to the scrollView so that the entire landing page is scrollable. Now, we need to use this View in the ViewController that we land in after we login - MainViewController. Inside the viewDidLoad method, we need to instantiate our HomeView and add it as a Subview. Let's also save our tokens as user defaults.
import UIKit

class MainViewController: UIViewController, UISearchBarDelegate {
	var token: String?
  var polygonToken: String?
	var homeView: HomeView!

	override func viewDidLoad() {
    super.viewDidLoad()

		let defaults = UserDefaults.standard
    defaults.set(self.token!, forKey: "token")
    defaults.set(self.polygonToken, forKey: "polygonToken")

    self.homeView = HomeView(frame: CGRect(x:0, y:0, width:self.view.frame.width, height: self.view.frame.height))
    homeView.search_bar.delegate = self
		view.addSubview(homeView)
	}
}
Now, we need to actually update the values in the HomeView with information on our portfolio values and positions. To do this, we will make a call to our server, which will fetch everything we need and put it into a nicely formatted JSON object. We will then encode this JSON object into structs defined in our frontend so we can use them easily. Since we need to update our information repeatedly, let's use a Timer to schedule a function call. In our HomeView init method, let's add this code:
let date = Date().addingTimeInterval(0)
let timed_task = Timer(fireAt: date, interval: 60, target: self, selector: #selector(updateData), userInfo: nil, repeats: true)
RunLoop.main.add(timed_task, forMode: .common)
We also now need our method - aptly called updateData. Let's put this inside the HomeView class and define it as:
@objc func updateData() {
    let token = UserDefaults.standard.object(forKey: "token") as? String
    let url = URL(string: "http://127.0.0.1:5000/getAccountDetails?token=" + token!)
    let defaultSession = URLSession(configuration: URLSessionConfiguration.default)
    var urlRequest = URLRequest(url: url!)
    urlRequest.httpMethod = "GET"
    let dataTask = defaultSession.dataTask(with: urlRequest) { (data, response, error) in
        guard let data = data else { return }
        do {
            let account_info = try JSONDecoder().decode(AccountInfo.self, from: data)
            DispatchQueue.main.async {
                self.removePositions()
                self.portfolio_value.text = "$" + account_info.equity
                self.updateChart(value: Double(account_info.equity)!)
                let position_size = account_info.positions.count - 1
                for n in 0...position_size {
                    let position = PositionView(frame: CGRect(x:10, y: CGFloat(n) * 70 + 500, width: self.scrollView.frame.width - 20, height: 60), ticker: account_info.positions[n].symbol, qty: account_info.positions[n].qty)
                    self.scrollView.addSubview(position)
                }
                scrollView.contentSize = CGSize(width: self.frame.width-20, height: CGFloat(position_size*70+600))
            }
        } catch let error {
            print(error)
        }
    }
    dataTask.resume()
}
That was a lot of code all at once, with several missing components, so let's dissect what's going on here. In our updateData function, we're making a call to the getAccountDetails endpoint, which is going to give us our position and portfolio_value information. As you can see, we're encoding this backend response into a struct called AccountInfo. Let's define this struct inside HomeView as:
struct AccountInfo: Codable {
    var equity: String
    var positions: [Position]
}

struct Position: Codable {
    var symbol: String
    var entry: Double
    var cost_basis: Double
    var qty: Int
}
Before we go forward with the API, let's code up the getAccountDetails endpoint. As mentioned, this endpoint is going to be called every 60 seconds so that we can show the user updated position and portfolio value information. This is going to look something like:
@app.route('/getAccountDetails')
def get_account_details():
  output = {}
  token = request.args.get('token')

  response = requests.get("https://paper-api.alpaca.markets/v2/account", headers = {"Authorization" : "Bearer " + token})
  response = json.loads(response.text)
  output["equity"] = response["equity"]

  response = requests.get("https://paper-api.alpaca.markets/v2/positions", headers = {"Authorization" : "Bearer " + token})
  response = json.loads(response.text)
  positions = []

  for item in response:
      temp = {}
      temp["symbol"] = item["symbol"]
      temp["entry"] = float(item["avg_entry_price"])
      temp["cost_basis"] = float(item["cost_basis"])
      temp["qty"] = int(item["qty"])
      positions.append(temp)

  output["positions"] = positions
  return json.dumps(output)
We're using 2 Alpaca API calls here! The Account endpoint is mainly for us to get the overall value of our portfolio.
AlpacaThe Positions endpoint is, obviously, so that we can list out our holdings.
AlpacaNow, going back to our front-end code, there are still some things that we have not yet defined. For one, we have not defined the removePositions method. This is just a method that clears out the positions array, so that we can repopulate it with the updated information retrieved from the getAccountDetails call. Simply put, it is defined as:
func removePositions() {
    let subViews = scrollView.subviews
    var counter = 0
    for view in subViews {
        if counter > 3 {
            view.removeFromSuperview()
        }
        counter = counter + 1
    }
}
Next up, we called a method updateChart. This method will be used to add a datapoint to our line graph, given just a double value. This will be useful both in the HomeView, and eventually when we create our StockView.
func updateChart(value: Double) {
    let dataEntry = ChartDataEntry(x:Double(self.graph_data.count), y: value)
    self.graph_data.append(dataEntry)
    let line = LineChartDataSet(entries:self.graph_data)
    line.mode = .cubicBezier
    line.drawCirclesEnabled = false
    line.lineWidth = 3
    line.colors = [NSUIColor.green]
    let data = LineChartData()
    data.removeDataSetByIndex(0)
    data.addDataSet(line)
    data.setDrawValues(false)
    self.graph.data = data
}
There's an issue with this structure, however. The graph will start populating whenever the user logs into the application, so any performance data from earlier on that day will not be shown. Let's fix this by retrieving the day's portfolio performance and adding it to the graph from the very beginning. To do this, let's define a function - setInitialPortfolio - and call it at the end of our HomeView's init.
func setInitialPortfolioData() {
    let token = UserDefaults.standard.object(forKey: "token") as? String
    let url = URL(string: "http://127.0.0.1:5000/dailyPortfolioActivityHistory?token=" + token!)
    let defaultSession = URLSession(configuration: URLSessionConfiguration.default)
    var urlRequest = URLRequest(url: url!)
    urlRequest.httpMethod = "GET"
    let dataTask = defaultSession.dataTask(with: urlRequest) { (data, response, error) in
        guard let data = data else { return }
        do {
            let vals = try JSONDecoder().decode(AssetValue.self, from: data)
            DispatchQueue.main.async {
                let position_size = vals.equity.count - 1
                for n in 0...position_size {
                    self.updateChart(value: vals.equity[n])
                }
            }
        } catch let error {
            print(error)
        }
    }
    dataTask.resume()
}
We're making another backend call here, which will return an array of values that correspond to the minute by minute performance of our portfolio up for that specific day. We can define this in the Flask server as:
@app.route('/dailyPortfolioActivityHistory')
def day_portoflio_value():
  access_token = request.args.get('token')
  params = {
      "period": "1D",
      "timeframe": "1Min"
  }
  response = json.loads(requests.get("https://paper-api.alpaca.markets/v2/account/portfolio/history", headers = {"Authorization" : "Bearer " + access_token}, params = params).text)
  relevant_equity = []
  today = datetime.datetime.fromtimestamp(response["timestamp"][-1]).strftime('%Y-%m-%d')
  for i in range(len(response["timestamp"])-2, 0, -1):
      if datetime.datetime.fromtimestamp(response["timestamp"][i]).strftime('%Y-%m-%d') != today:
          break
      elif response["equity"][i] != None:
          relevant_equity.insert(0, response["equity"][i])

  output = {"equity":relevant_equity}
  return json.dumps(output)
In this, we're using the Portfolio History Alpaca endpoint.
AlpacaThis endpoint will return the performance of the stock along with timestamps. Essentially, from the past 24 hours, we only want the data corresponding to the current trading day. We will use the timestamps that Alpaca provides us to filter accordingly and return only the equity values we deemed important.
Finally, the last thing that we have yet to define is PositionView. This is going to be a UIView that houses information on specific holdings. In a later article, we will add onClick functionality to this UIView so that it will link to the appropriate StockView. For now, let's define a new class in a new group - Components - and call it PositionView:
import UIKit

class PositionView: UIView {
    var ticker: UILabel!
    var qty: UILabel!

    init(frame: CGRect, ticker:String, qty:Int) {
        super.init(frame: frame)
        self.ticker = UILabel(frame: CGRect(x:10, y:5, width: frame.width, height: frame.height/2 - 5))

        self.qty = UILabel(frame: CGRect(x:10, y:frame.height/2, width: frame.width, height: frame.height/2 - 5))

        self.ticker.text = ticker
        self.qty.text = String(qty) + " shares"
        self.ticker.textColor = UIColor.white
        self.qty.textColor = UIColor.white
        addSubview(self.ticker)
        addSubview(self.qty)

        let bottomLine = CALayer()
        bottomLine.frame = CGRect(x: 15, y: self.frame.height - 1, width: self.frame.width-30, height: 1.0)
        bottomLine.backgroundColor = UIColor.lightText.cgColor
        layer.addSublayer(bottomLine)

        self.backgroundColor = UIColor.clear
    }

    required init?(coder: NSCoder) {
        fatalError("Fatal Error has Occurred")
    }
}
All Put Together
To recap, in this article we constructed Raven's home page. This should show us our portfolio value, historic performance, and our current holdings. This was a very front-end heavy development cycle because our main focus was retrieving information from Alpaca's API and displaying it in our interface. There are several improvements and modifications that can be made to this code, so I encourage all of you to work on any ideas you may have. With the code that we have here, Raven now looks like this →
Alpaca's API offers a lot more functionality than what we have discussed so far. We will be exploring more of it in the coming articles, but continue exploring the opportunities on your own! Until next time ✌️
Technology and services are offered by AlpacaDB, Inc. Brokerage services are provided by Alpaca Securities LLC (alpaca.markets), member FINRA/SIPC. Alpaca Securities LLC is a wholly-owned subsidiary of AlpacaDB, Inc.
You can find us @AlpacaHQ, if you use twitter.