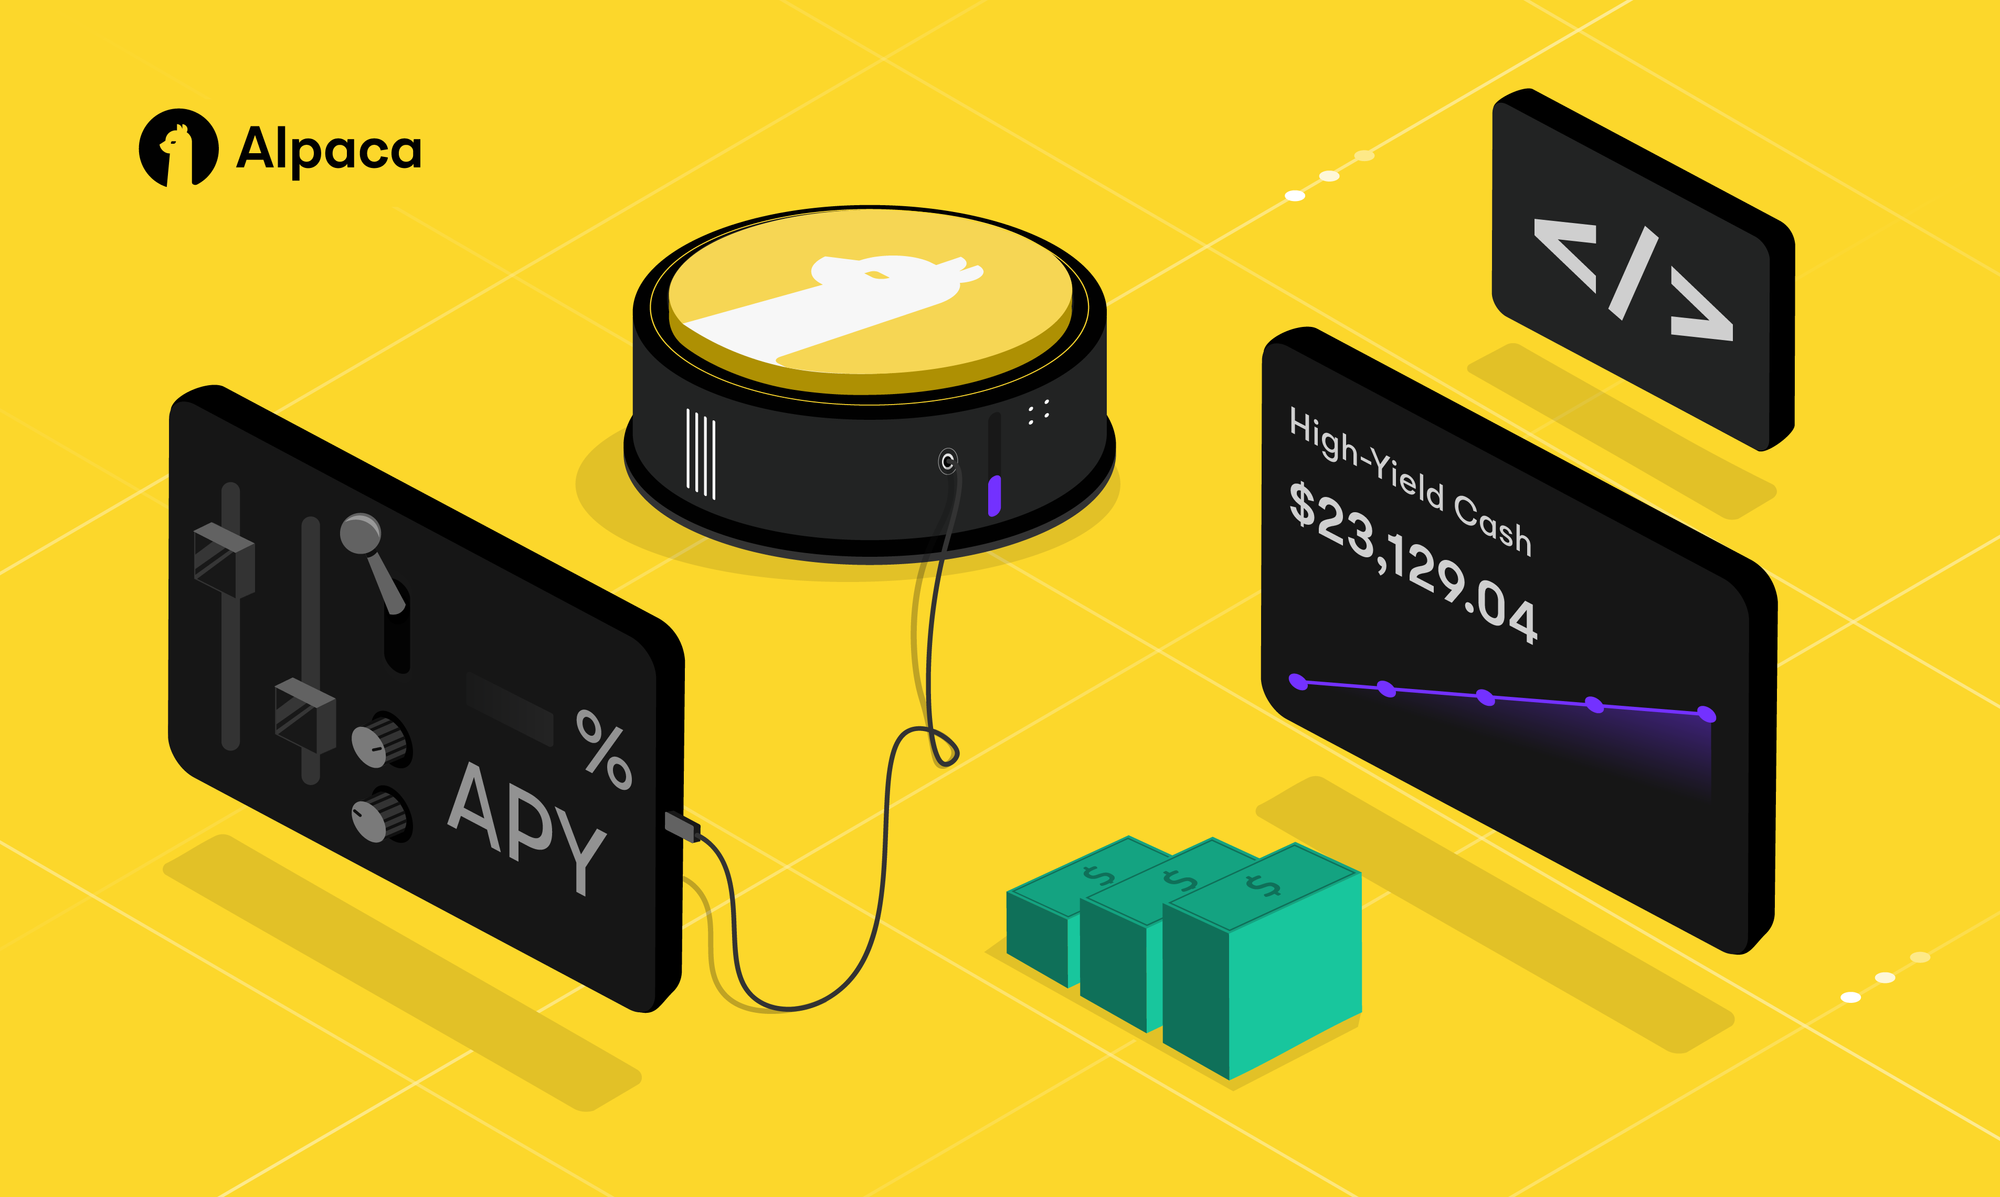
Funding Wallets for Broker API allows you to create a dedicated wallet with a distinct account number for each user to deposit funds into. This will help eliminate the need for your end users to send their Alpaca account number in the wire description as required today.
With this solution, your end users will have a smoother funding experience as Alpaca will be able to quickly and reliably identify how incoming deposits should be allocated to each brokerage account in our system without any additional input from you or your end users. In this article, we discuss how you can get started with Funding Wallets by outlining the conceptual flow and sharing an example of a Sandbox tutorial
Conceptual Flow
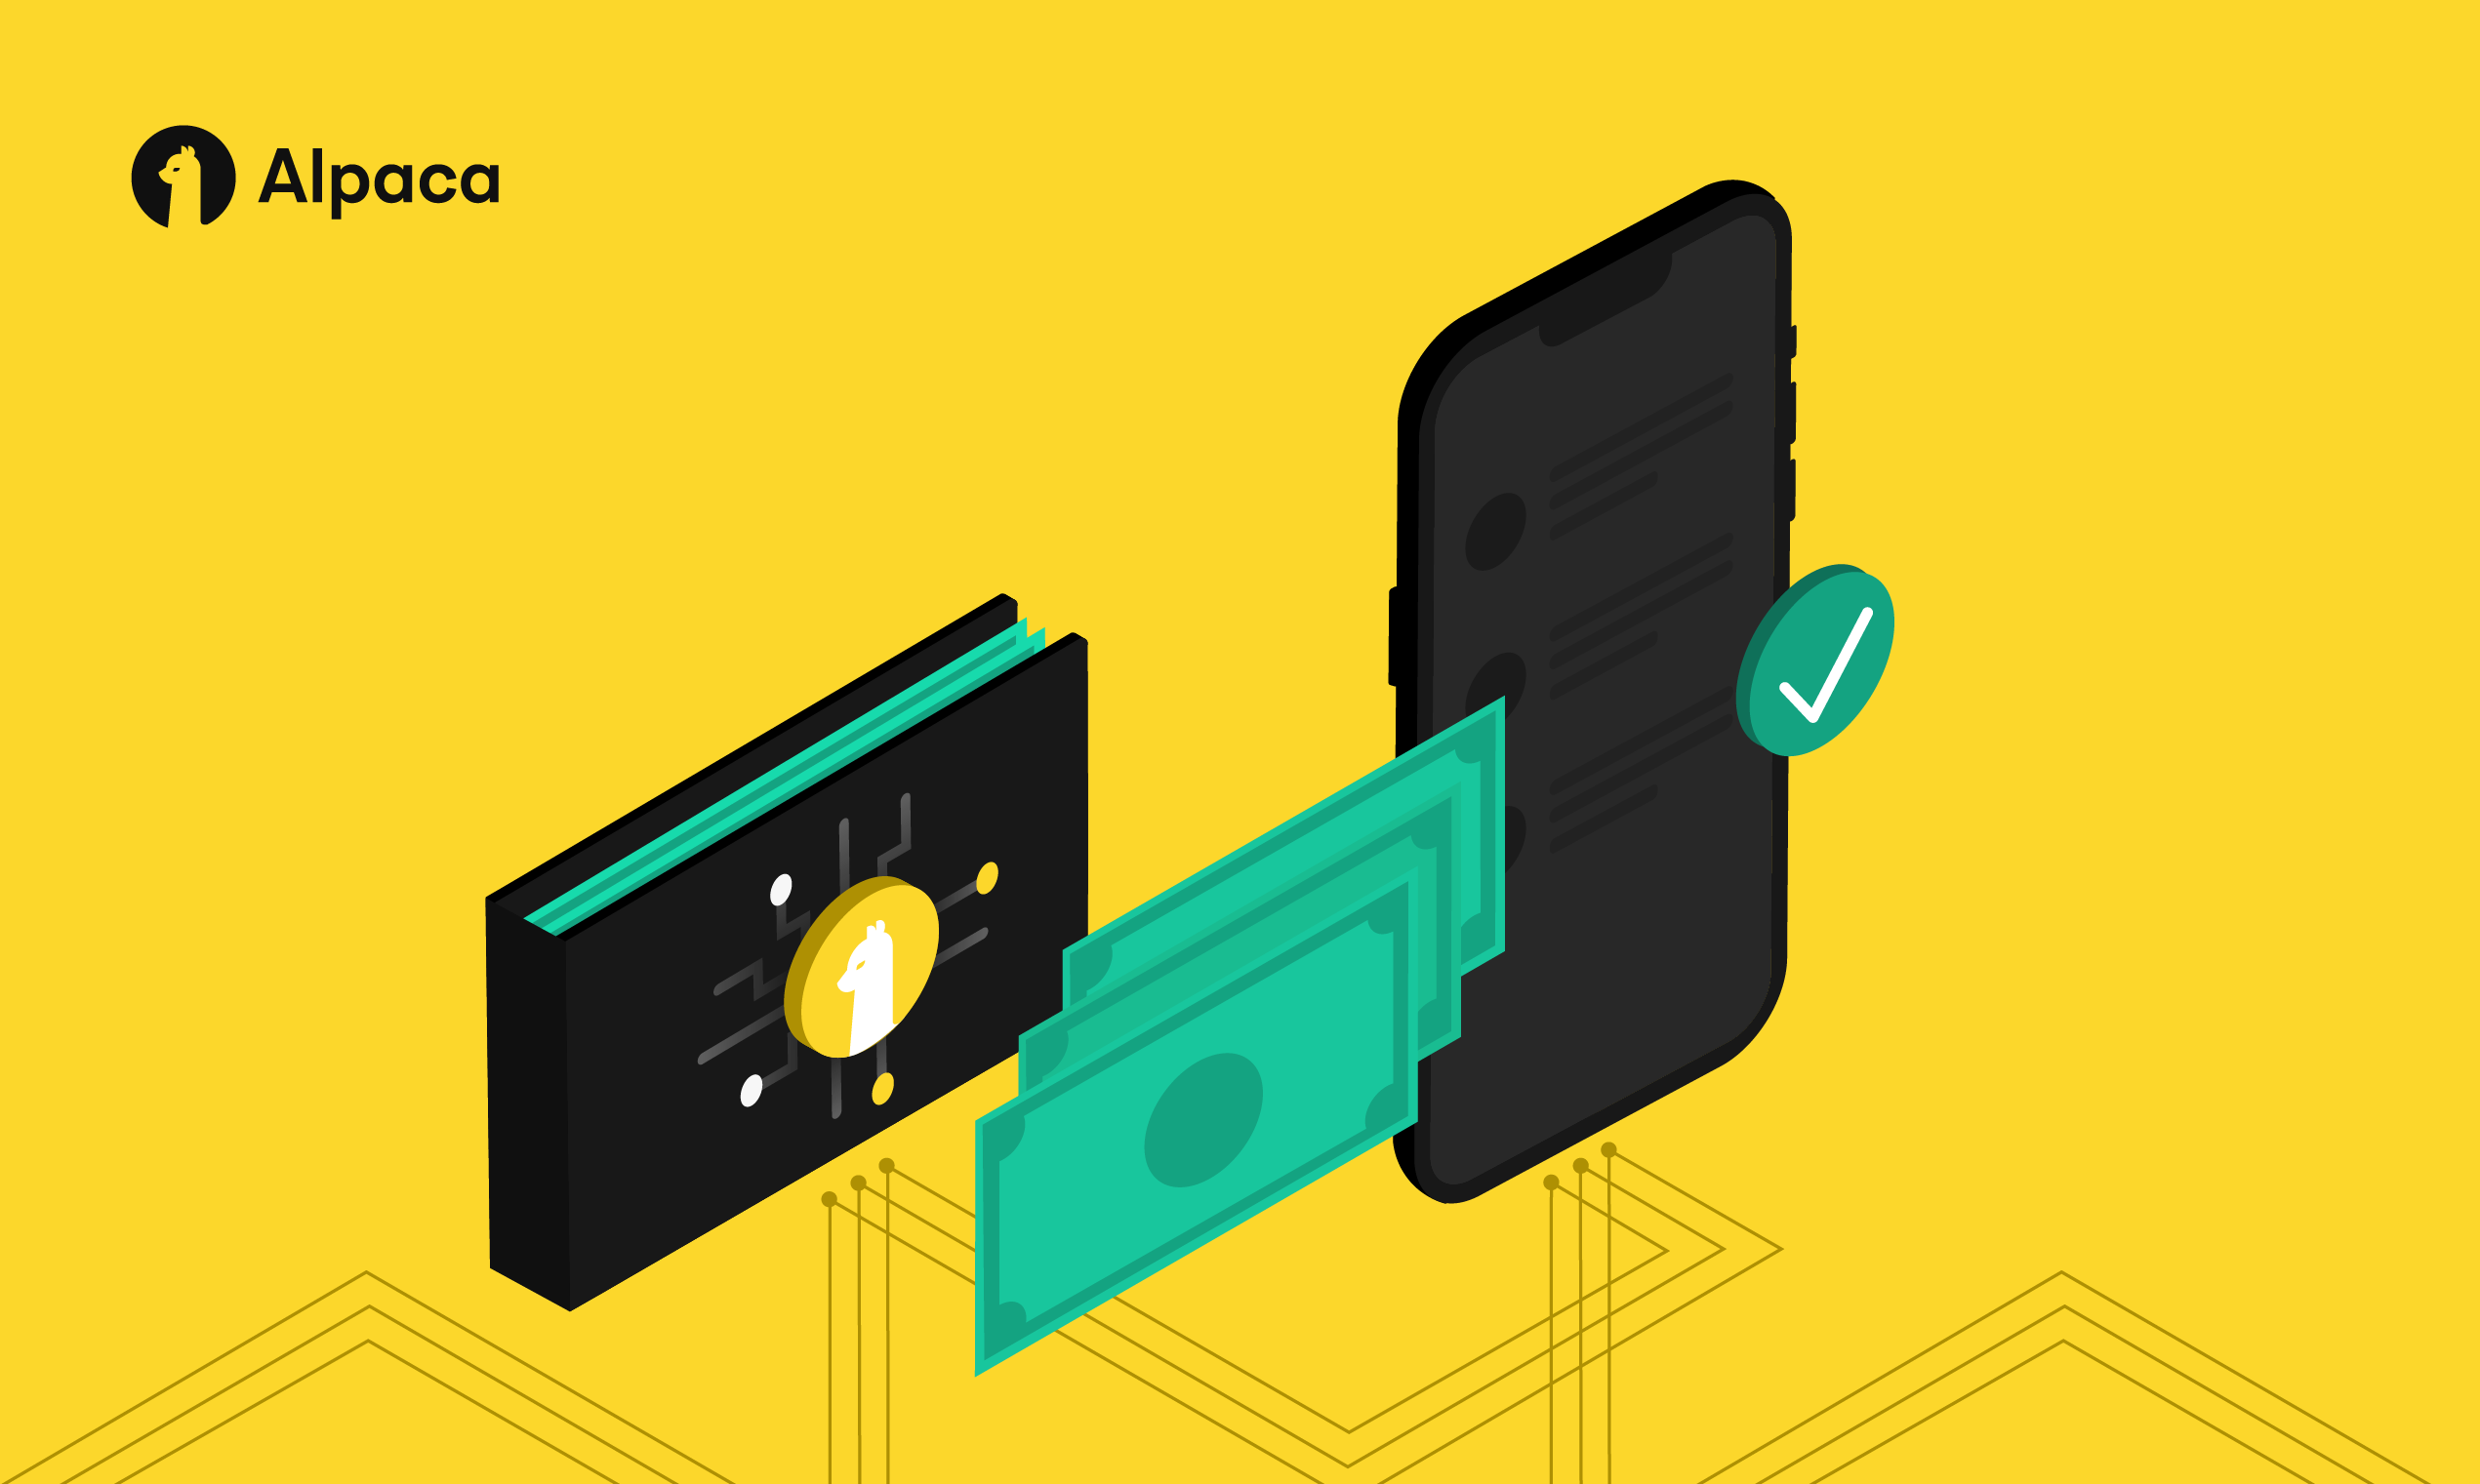
Before diving into what the API flow looks like to support an incoming deposit to a Funding Wallet, it’s important to understand how each environment plays a role in the flow. The graphic below illustrates how the end user would typically interact with a partner’s app to initiate a deposit and how the partner would communicate with Alpaca to manage this flow for their end user.
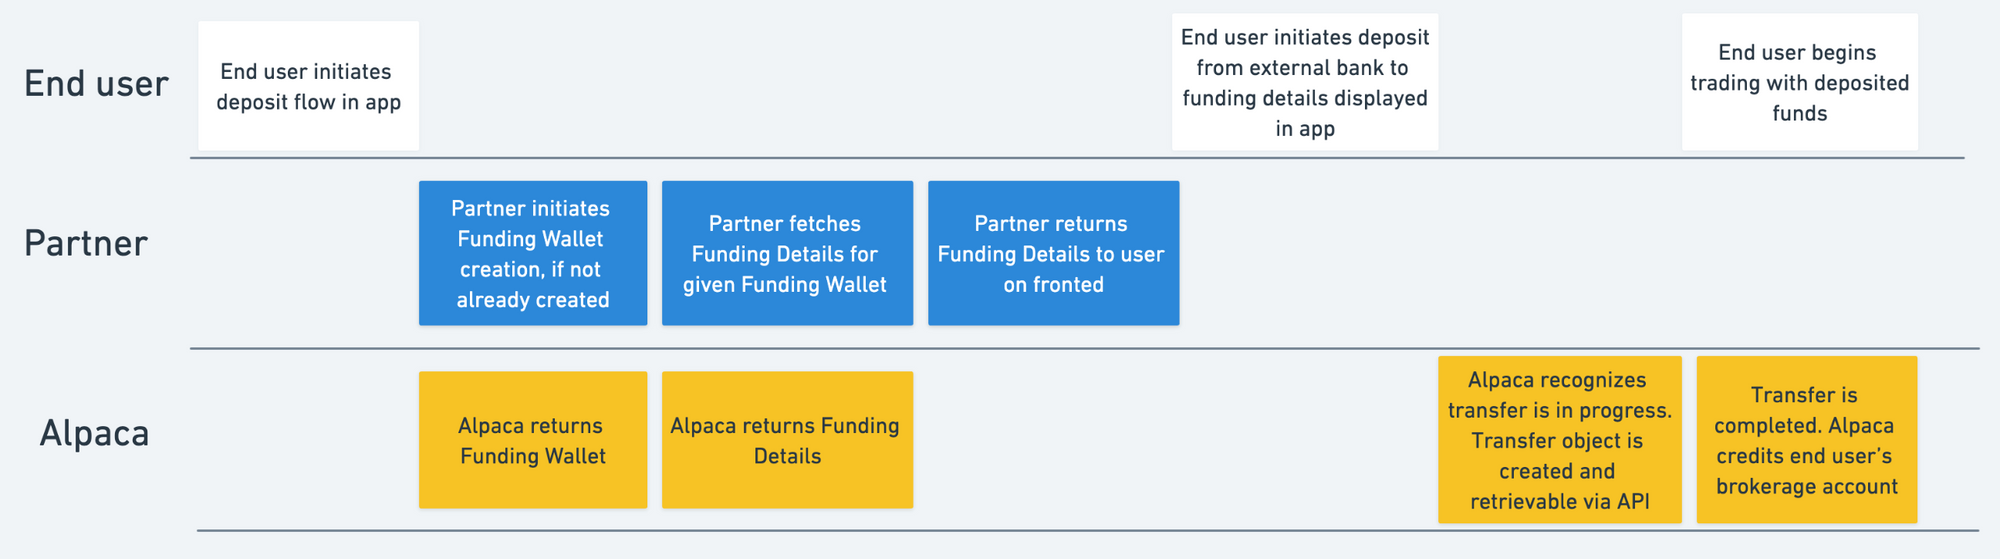
In this diagram, the flow begins with the end user initiating the deposit flow in the partner’s app. If you have existing end users that are already familiar with the existing deposit instructions, you’ll need to reach out to them to begin using the new deposit instructions provided by the Funding Details object.
Sandbox Tutorial
Let’s walk through a step-by-step guide of the API flow to accept an end user’s incoming deposit.
Step 1: Create a Funding Wallet
If the end user does not already have a funding wallet created, you will need to create one for them using the following endpoint.
Request

POST /v1beta/accounts/:account_id/funding_wallet

Response

{
    "account_id": "c639c7f8-f776-4fff-8477-aa1a03be5b5b",
    "created_at": "2023-07-07T18:48:20.365062Z",
    "status": "active"

}Step 2: Fetch Funding Details
Once a funding wallet is created, there are a number of options that end users can choose from to deposit funds. We will support deposits via swift wire or local payment rails if available in the end user’s region. End users can also specify which currency they would like to deposit via the payment rail they selected. Once selected, you will call the following endpoint to fetch the funding details.
Request
GET /v1beta/accounts/:account_id/funding_wallet/funding_details?payment_type=swift_wire¤cy=SAR
Response
{
"funding_details": [
{
"account_holder_name": "Alpaca - Dev4",
"account_number": "GB49TCCL12345650488223",
"account_number_type": "iban",
"bank_address": "12 Steward Street, The Steward Building, London, E1 6FQ, GB",
"bank_country": "GB",
"bank_name": "The Currency Cloud Limited",
"currency": "SAR",
"payment_type": "swift_wire",
"routing_code": "TCCLGB3L",
"routing_code_type": "BIC"
}
]
}
Once fetched you will need to return, at a minimum, the account_number and routing_code to the end user so they can initiate the deposit from their external bank account to Alpaca.
Step 3: Retrieve transfer status updates
After a user initiates a deposit to their designated account_number it may take some time for the receiving bank to recognize the transfer. As soon as it is recognized, Alpaca will return transfer updates via our new endpoint for monitoring funding wallet transfers.
Request

GET /v1beta/accounts/:account_id/funding_wallet/transfers

Response

{
    "transfers": [
        {
            "account_id": "c639c7f8-f776-4fff-8477-aa1a03be5b5b",
            "amount": "10000",
            "created_at": "2023-07-10T16:49:57.576682Z",
            "currency": "SAR",
            "direction": "incoming",
            "fees": [
                {
                    "amount": "25",
                    "currency": "USD",
                    "payment_type": "invoice",
                    "type": "alpaca_fee"
                }
            ],
            "id": "7cafdcb5-a8c4-4bdb-9e14-7b632d18cfb0",
            "status": "COMPLETE",
            "updated_at": "2023-07-11T18:15:05.387243Z",
            "usd": {
                "amount": "2665.96"
            }
        }
    ]
}
It’s important to note that all deposits made in non-USD will be converted to USD upon receipt. Once the transfer is marked as status = COMPLETE that means the deposit has finished processing and the end user’s brokerage account has been granted buying power for the amount that was deposited.
What’s Next?
If you are an existing Broker API partner, and interested in enabling this product solution, please contact your respective Customer Success Manager or [email protected].
If you are not yet a partner, speak with an expert by submitting our contact sales form, specifying you would like to learn more about our Funding Wallets solution here.
Additional Resources
To learn more about Funding Wallets for Broker API, please check out our additional resources