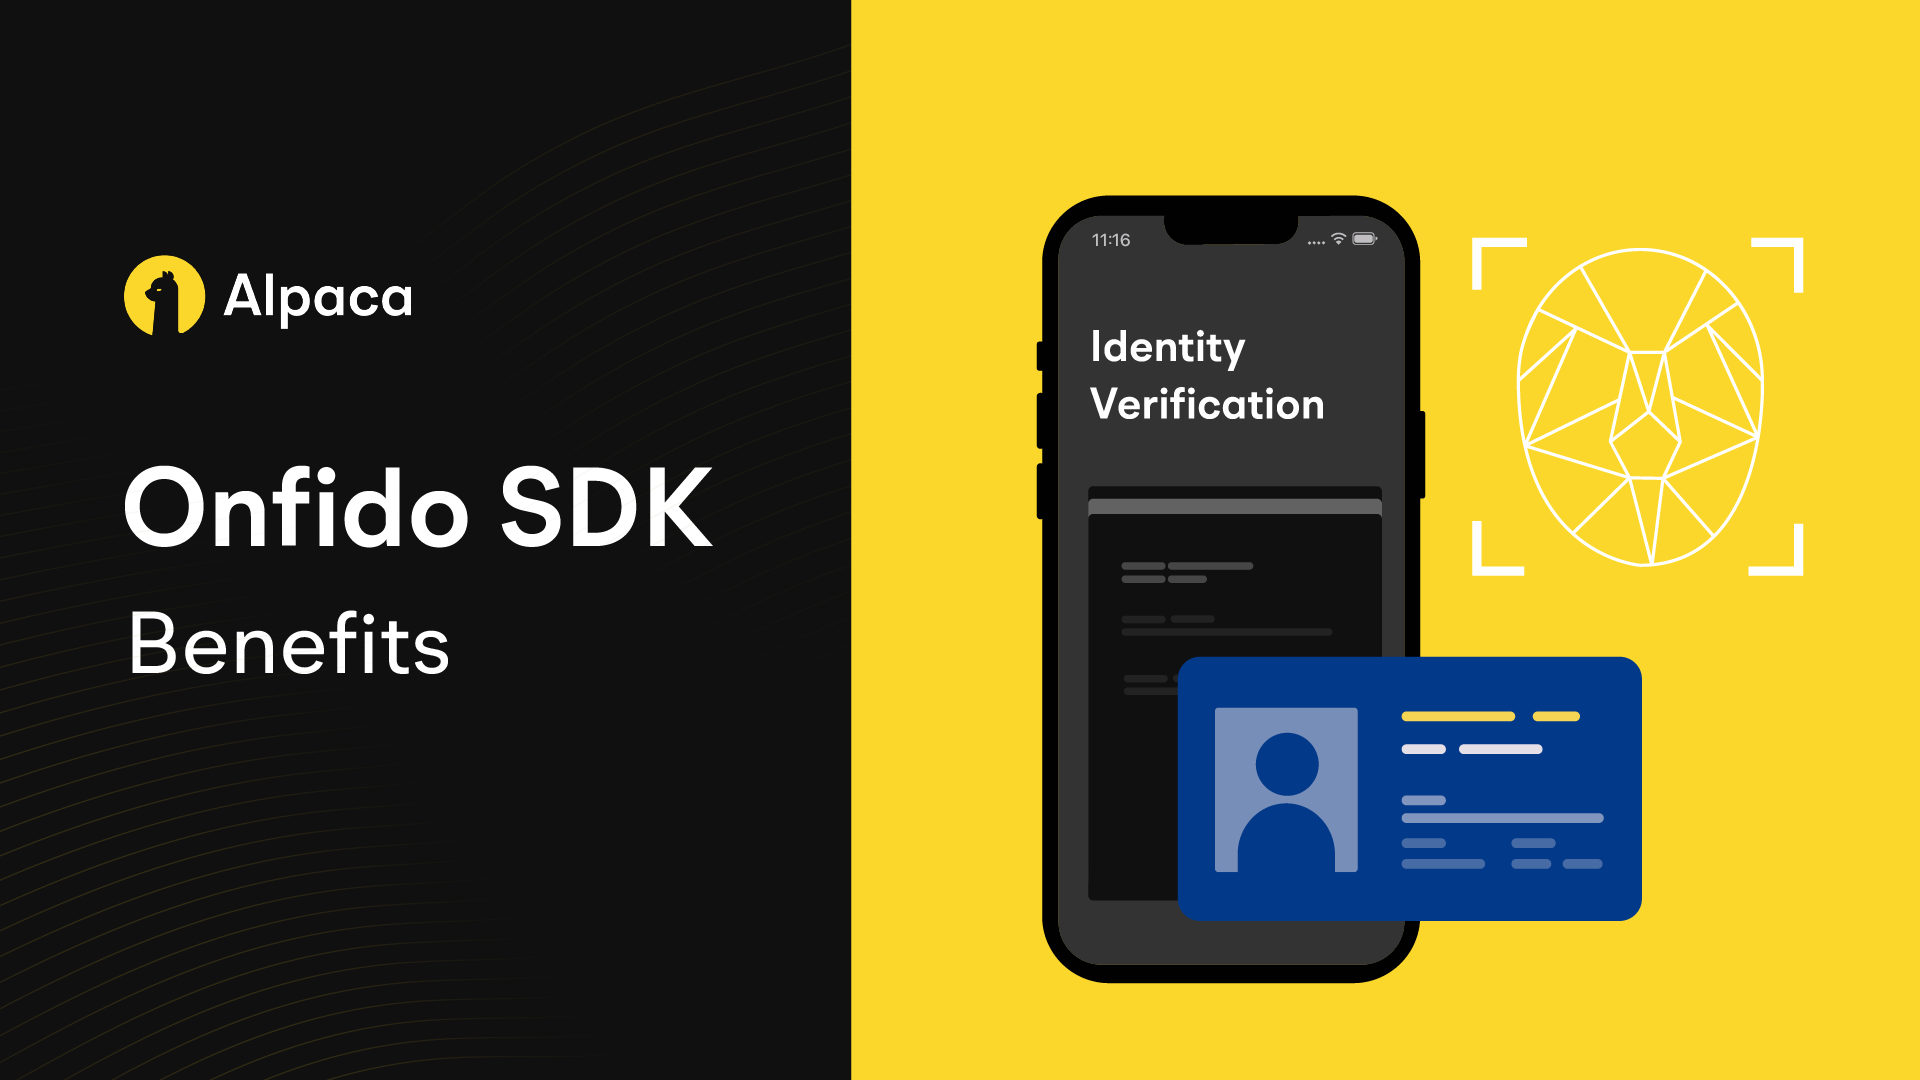
When it comes to building your own brokerage app, perfecting the KYC process can be one of the most difficult parts. Through Alpaca’s KYC as a Service offering, we take the complexity out of onboarding by conducting KYC on your behalf. With our newly introduced integration of Onfido for Broker API, we now offer secure and reliable documentary verification, which is especially useful for international users. Onfido’s AI backed document verification and facial biometrics technology helps provide a secure and reliable KYC experience.
What is the Onfido SDK?
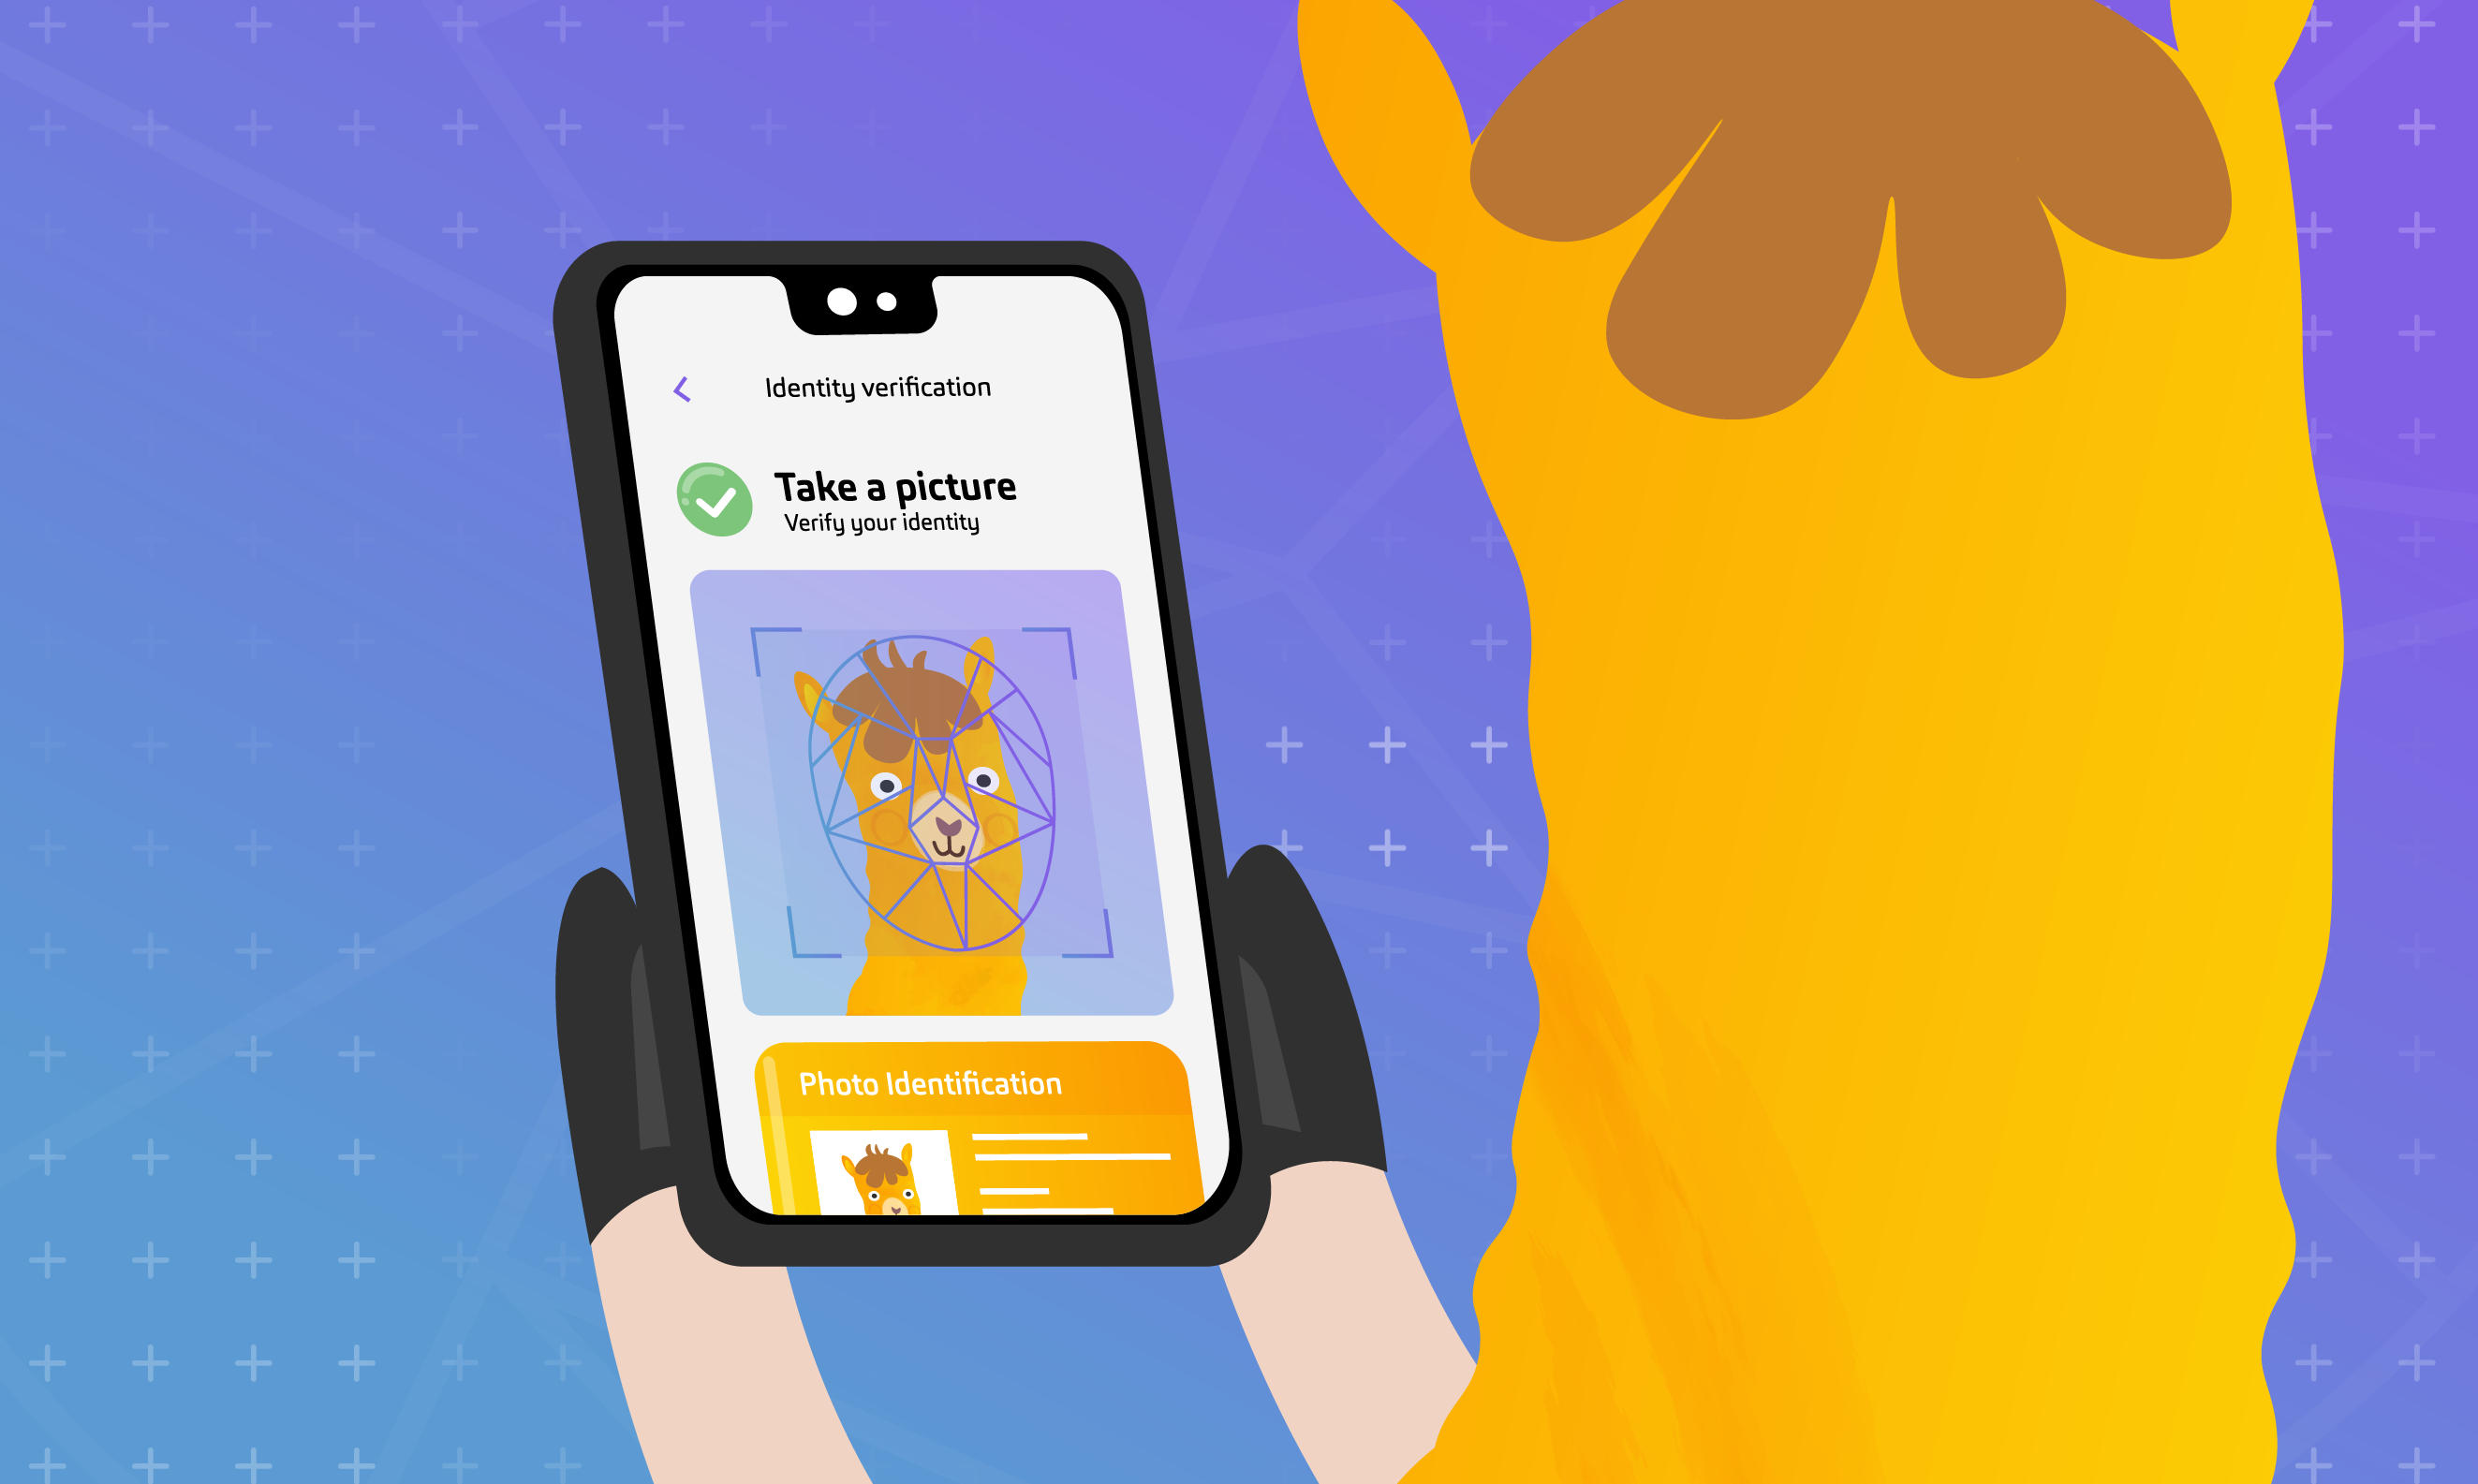
In order to provide the best possible experience for both you and your users, we highly recommend integrating the Onfido SDK directly into your app. For documentary verification with Onfido, your users must upload a photo of an identifying government document and a high-quality selfie that can be processed upon submission. The Onfido SDK provides an intuitive and customizable UI to guide your users through the document upload process and even performs real-time validation to ensure that only clear, valid photos are submitted. This helps to reduce friction during the KYC process and get your users approved as fast as possible.
How to integrate the Onfido SDK
Alpaca makes the Onfido SDK integration simple by handling all of the direct communication with Onfido to cut down on development effort. Add the Onfido SDK as the last step of your onboarding flow, and we’ll take care of the rest.
Alpaca & Onfido
We’ve introduced two new endpoints to support the Onfido SDK integration. The first is the GET /v1/accounts/{account_id}/onfido/sdk/tokens/ endpoint, which returns the token you need to initialize the SDK in your app. The second is the PATCH /v1/accounts/{account_id}/onfido/sdk/ endpoint, which allows you to send Alpaca the result of the SDK flow. Once the user successfully uploads the required documents, we’ll initiate the Onfido CIP check and continue KYC from there. See the diagram below to better understand the overall flow with the Onfido SDK.

Setting up the Onfido SDK
While Alpaca takes care of the direct communication with Onfido, you still need to initialize the Onfido SDK within your application for each environment (Android, iOS, Web) you offer. You can refer to the example tutorial below for adding the SDK to your application or refer to the Onfido documentation for in-depth guidance.
Example Android Integration
If you’re interested in integrating the Onfido SDK into your Android app, follow the steps below! Onfido offers flexibility when it comes to integrating the SDK. For certain steps, there are different options you can choose between for optimal performance. This example tutorial follows Onfido’s recommendations for each step. For reference, follow along in this tutorial with Onfido’s documentation here.
Step 1: Add the SDK dependency
repositories {
	mavenCentral()
}
dependencies {
	implementation 'com.onfido.sdk.capture:onfido-capture-sdk:x.y.z'
}
Step 1.1: Enable Multi-APK split
This step is optional but recommended by Onfido. Add the following to your build.gradle file:
android {
	splits {
		abi {
			enable true
			reset()
			include 'x86', 'x86_64', 'arm64-v8a', 'armeabi-v7a'
			universalApk false
		}
	}
}
Step 2: Configure the SDK with SDK tokens
Since we handle the direct communication with Onfido, you simply need to call our endpoint for retrieving an SDK token. Remember to keep track of the SDK token so you can pass it back when updating the SDK outcome. We recommend storing the token in memory rather than persistent storage to reduce any unnecessary overhead in your app.
GET /v1/accounts/{account_id}/onfido/sdk/tokens/?referrer=com.application.myapp&platform=mobile
Step 2.1: Handle Expiring Tokens
It’s important to note that tokens are only valid for 90 minutes. For a smoother user experience, Onfido recommends using a `tokenExpirationHandler` in the SDK token configurator function to ensure that the SDK flow will continue after a token has expired.
class ExpirationHandler implements TokenExpirationHandler {
	@Override
	public void refreshToken(@NotNull Function1<? super String, Unit> injectNewToken) {
		//Your network request logic to retrieve SDK token goes here
		injectNewToken.invoke("<NEW_SDK_TOKEN>"); // if you pass `null` the sdk will exit with token expired error
	}
}
OnfidoConfig.Builder config = new OnfidoConfig.Builder(context)
	.withSDKToken("<YOUR_SDK_TOKEN>", new ExpirationHandler()); // ExpirationHandler is optional
Step 3: Instantiate the client
final Context context = ...; Onfido onfido = OnfidoFactory.create(context).getClient();Step 4: Start the flow
// start the flow. 1 should be your request code (customize as needed)
onfido.startActivityForResult(
	this, /*must be an Activity or Fragment (support library)*/
	1, /*this request code will be important for you on
	onActivityResult() to identify the onfido callback*/
	config
);
Step 5: Handle callbacks
@Override protected void onActivityResult(int requestCode, int resultCode, Intent data) {
	...
	onfido.handleActivityResult(resultCode, data, new Onfido.OnfidoResultListener() {
		@Override
		public void userCompleted(Captures captures) { }
		@Override
		public void userExited(ExitCode exitCode) { }
		@Override public void onError(OnfidoException exception) { }
	});
}
Step 5.1: Notify Alpaca of the outcome
Once you receive the result of the SDK flow, you’ll need to notify us of the outcome. Upon a successful outcome, we will continue the remainder of the KYC process on your behalf.
PATCH /v1/accounts/{account_id}/onfido/sdk/
{
  "outcome": "USER_COMPLETED”,
  “token”: “header.payload.signature”
}
Additional Resources
- You can also customize the SDK UI to better suit your brand’s identity. Onfido’s documentation explains how to achieve this here.
- Onfido’s Android SDK Github repo is a great resource for developers looking for in depth information on how best to integrate the SDK into their app.
- Onfido also provides an example app for iOS, Android, and web that demonstrates the SDK in action. For further information on the Onfido SDK integration with Alpaca check out our documentation here.
What’s Next?
To build your own trading app using Alpaca for KYCaaS, please reach out to our sales team at [email protected]. If you’ve already built your own app using our products and are interested in integrating with the Onfido SDK, please notify our team so that we can enable the feature for you.
Alpaca Securities LLC and Onfido are not affiliated and neither are responsible for the liabilities of the other.
Brokerage services are provided by Alpaca Securities LLC ("Alpaca"), member FINRA/SIPC, a wholly-owned subsidiary of AlpacaDB, Inc. Technology and services are offered by AlpacaDB, Inc.
This is not an offer, solicitation of an offer, or advice to buy or sell securities, or open a brokerage account in any jurisdiction where Alpaca is not registered (Alpaca is registered only in the United States).